My photo/video journey of taking half of a 1960s, 2 door, double garage and making my own private 1-on-1 training studio. Applying skills learned from my own home renos over the years and some new skills like window installation and wall footer plate replacement. These images and videos showcase just under 6 months of my life.
NOTE: This NEVER would have happened at all without my good friends A.L.N.F and my uber-supportive spouse and kidlets. They all helped me SO MUCH with this project.
The entire process took from late March 2021 to early October 2021 to complete.
~ ~ ~ LET’S BEGIN! ~ ~ ~
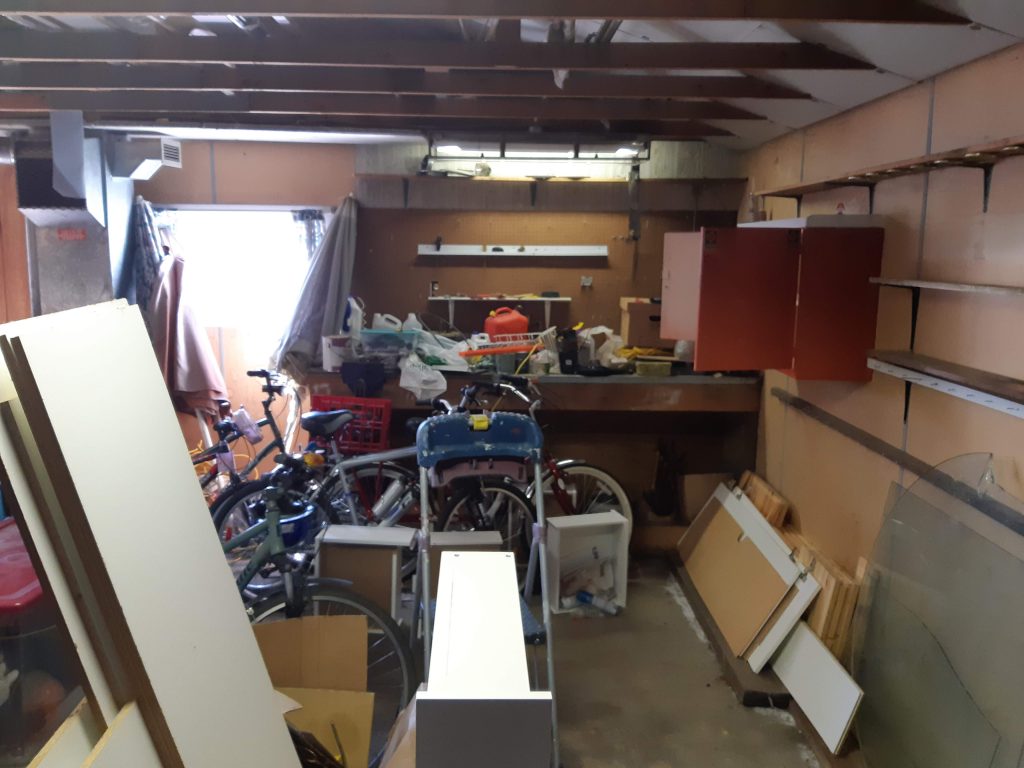
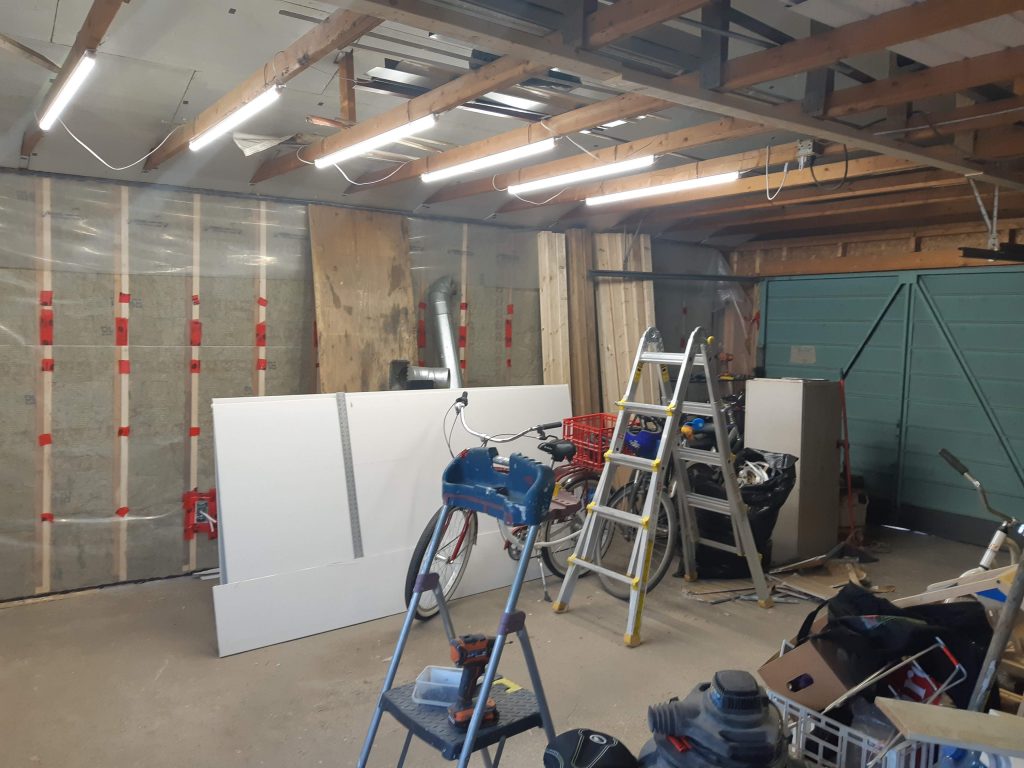
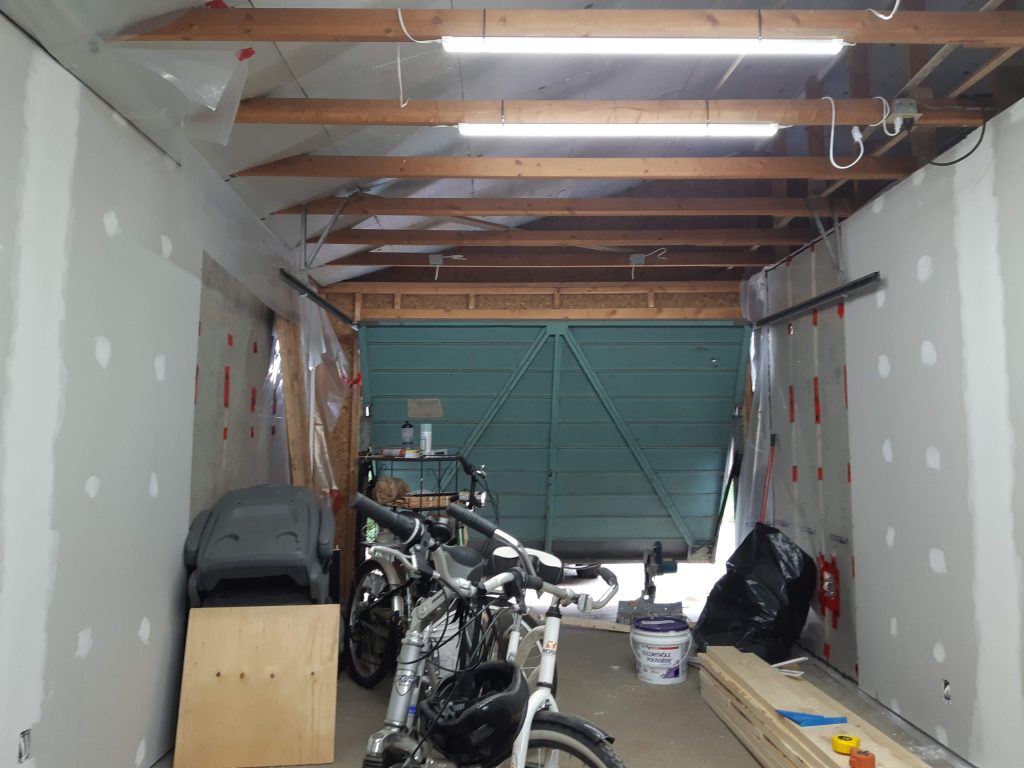
This is how “my half” of the garage looked after the removal of 5 mini-van loads that were taken to the eco-station. This garage had primarily been used for storage for….years.
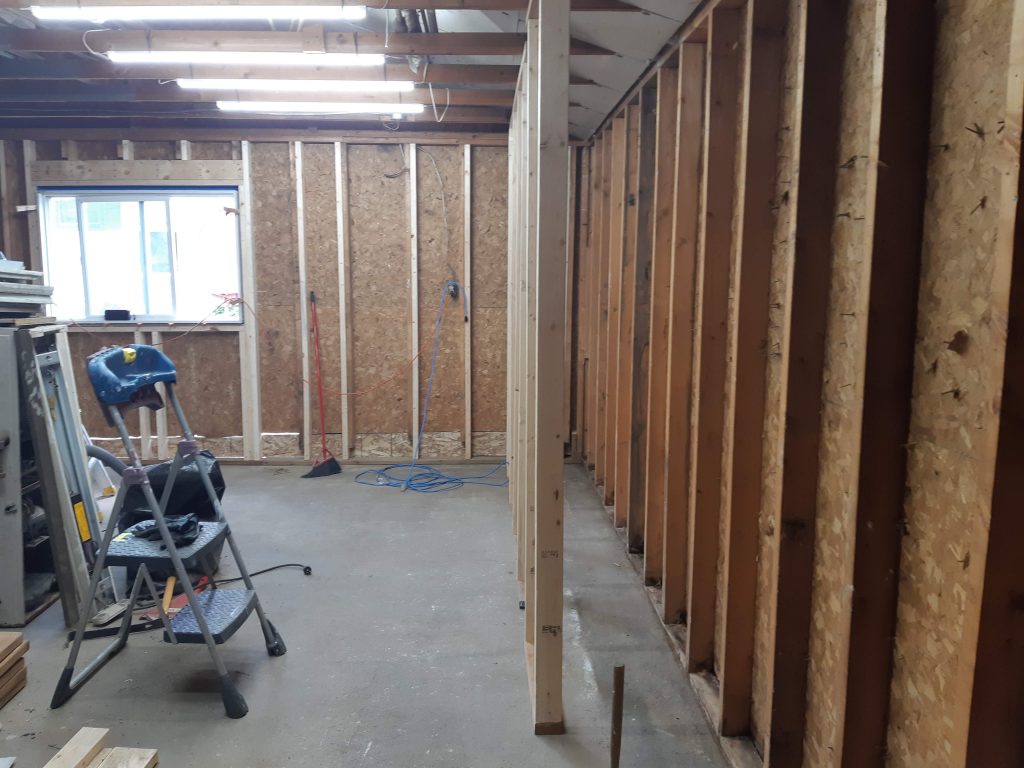
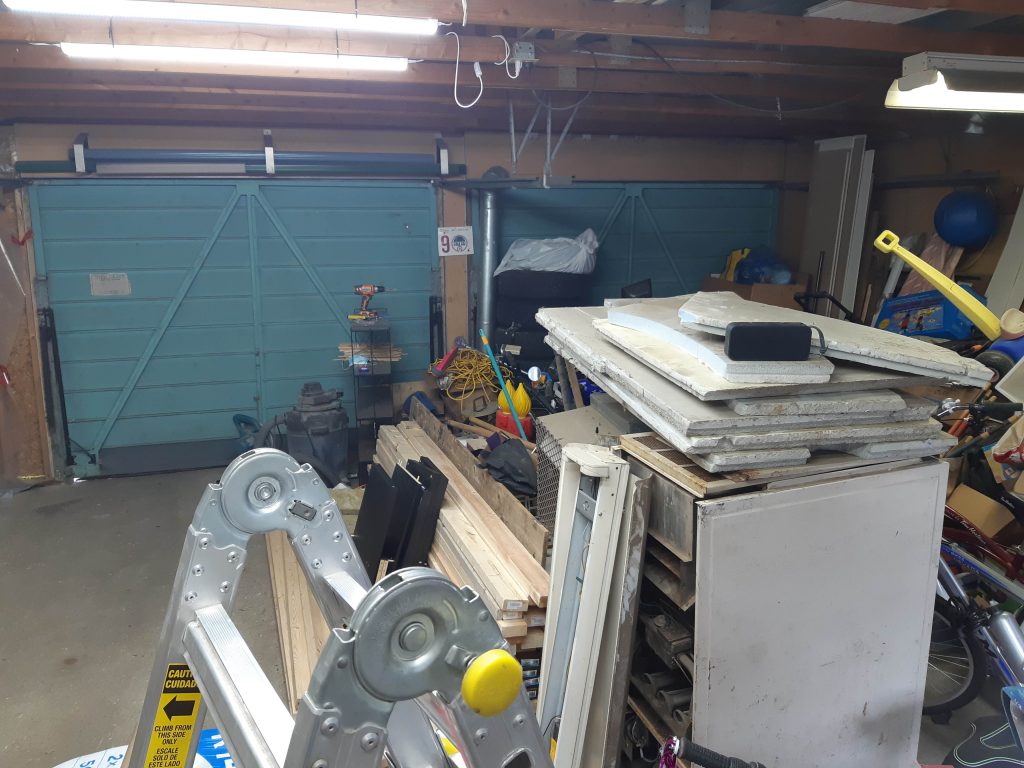
There was still a lot of “structure” to be removed before I could get to removing drywall, insulation, and old wiring….along with whatever else I found along the way.
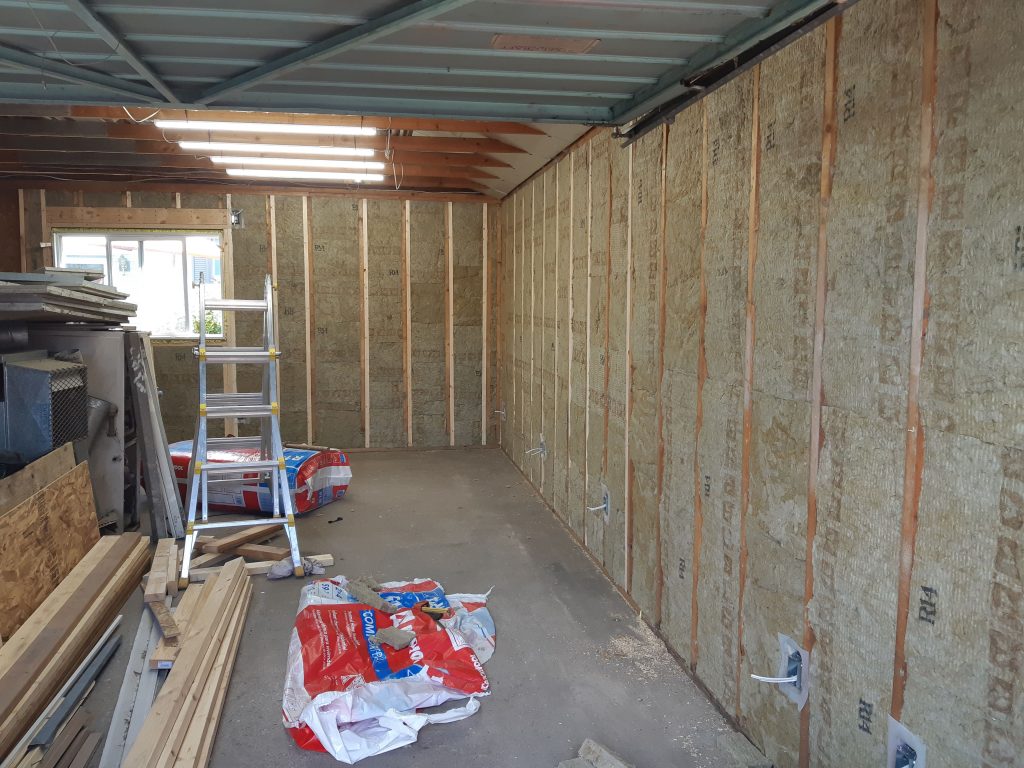
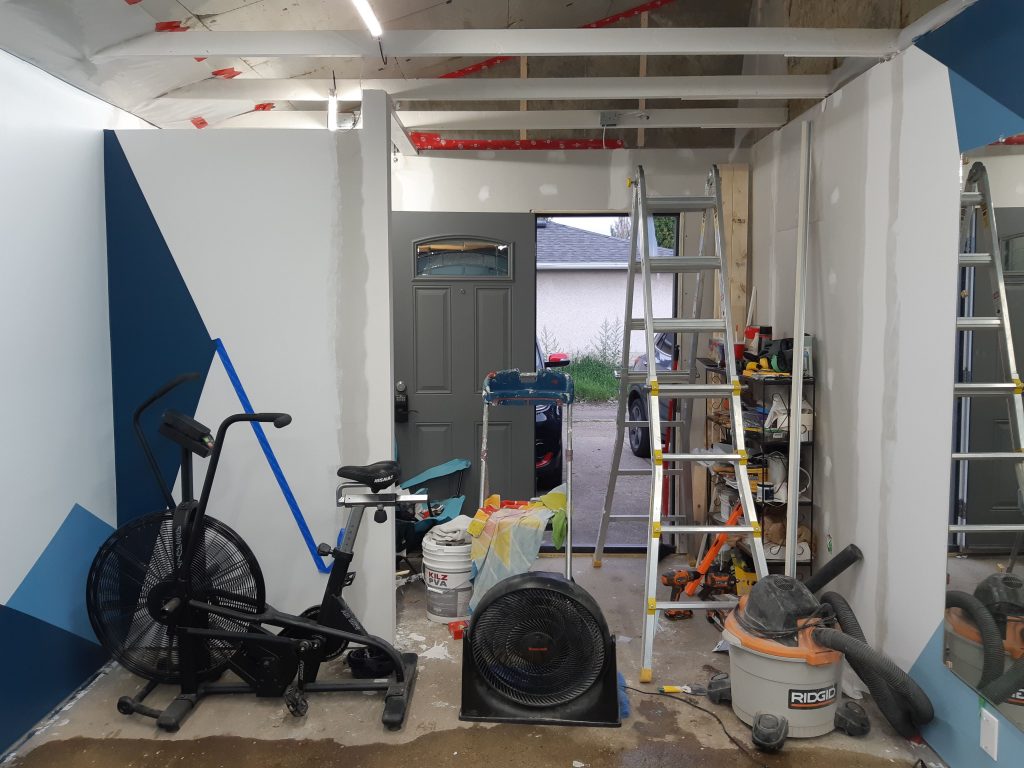
The space I am converting is roughly 11′ wide and 24′ in length. Into this space I need to fit my desk/office area, power rack, weight plates, bar storage, mirrors, treadmill, assault bike, dumbells, kettlebells and various bit and bobs. It’s gonna be a blast.
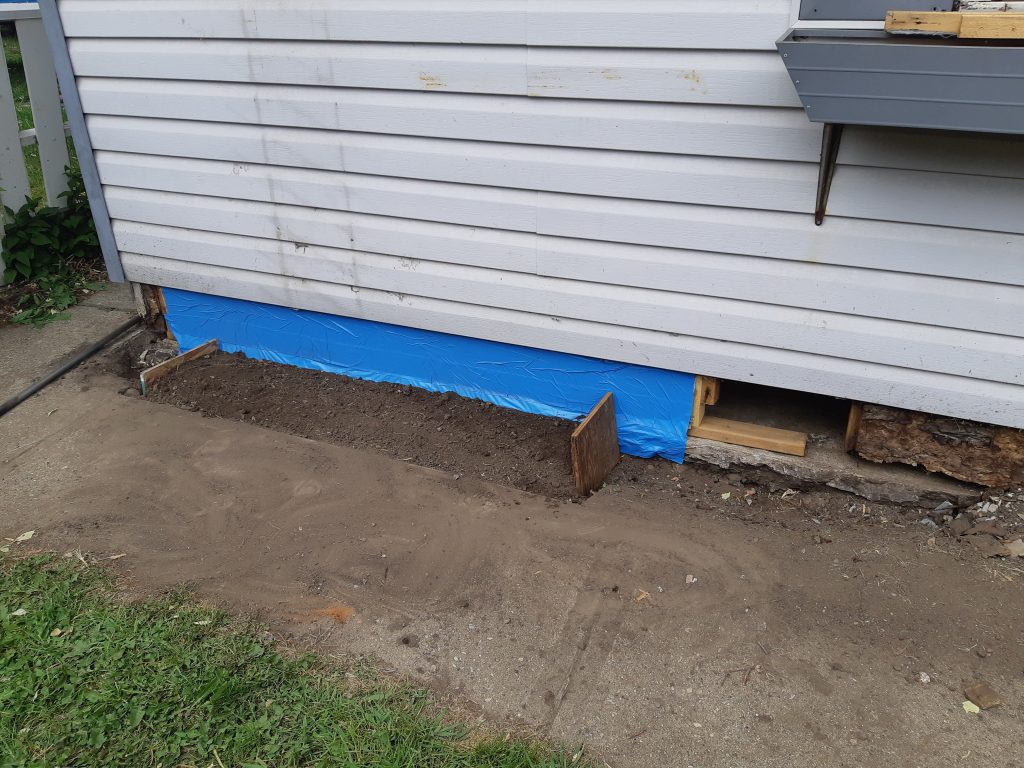
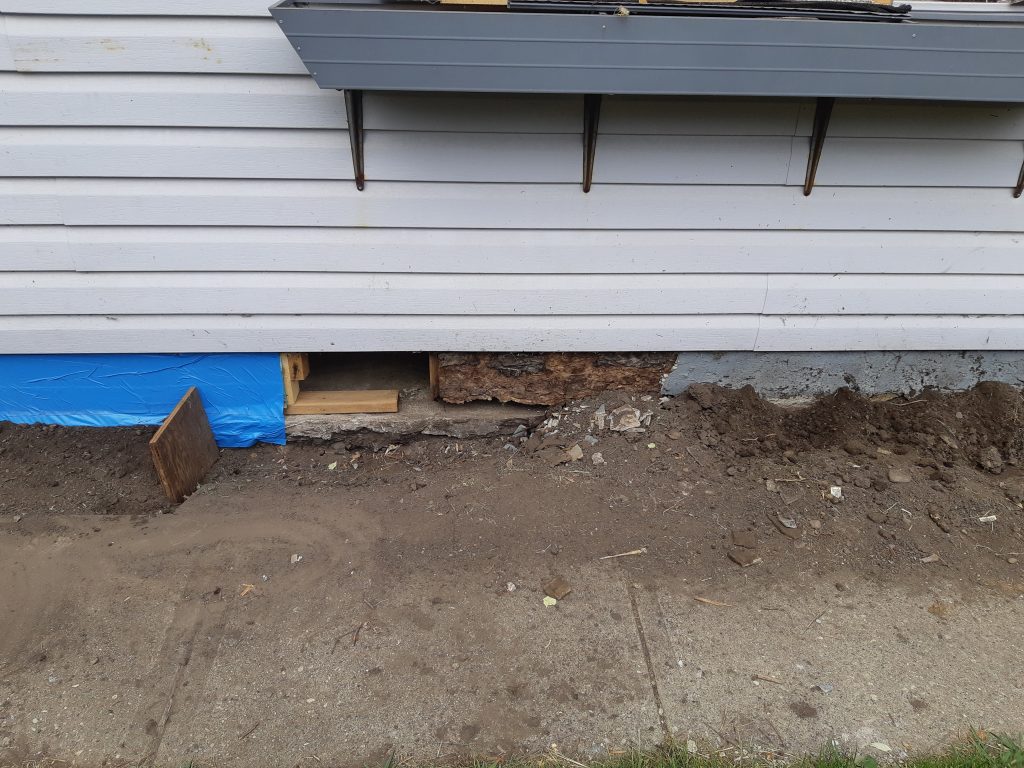
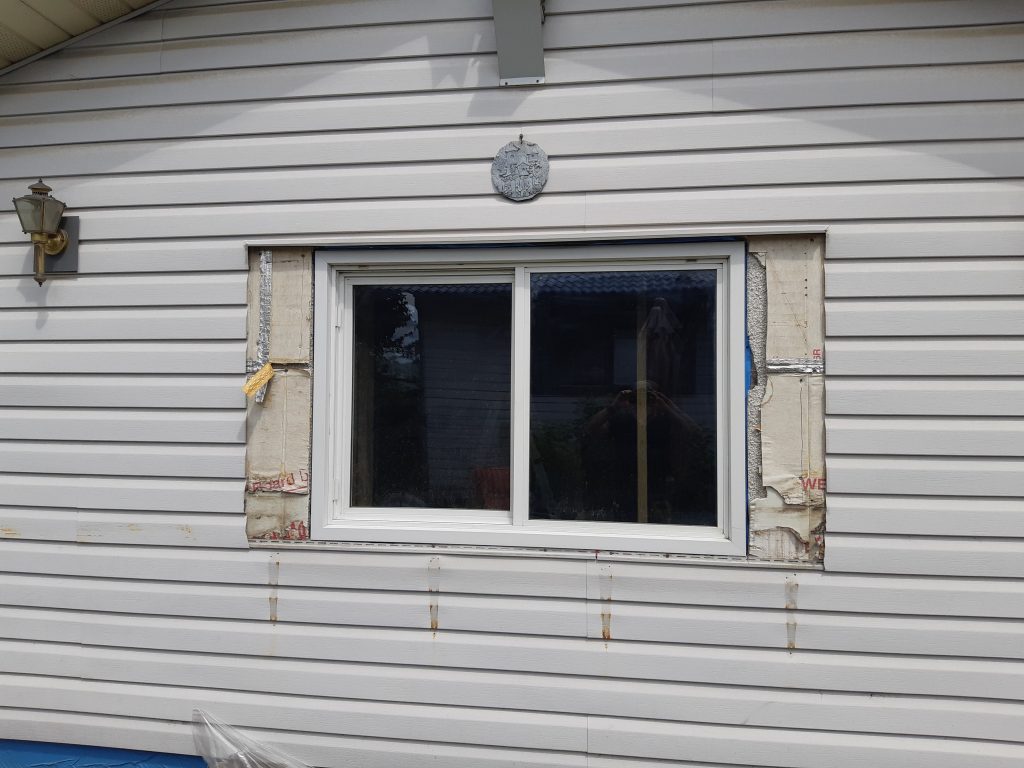
Lucky us! We discovered – after I got the walls hollowed out – WATER DAMAGE! This old garage pad has NO knee walls so the footer plate was completely rotted out…along the entire window wall!
View from window wall to garage door onto driveway and back alley.
View from garage door towards yard.
A brace wall? Why would Paul have to build one of those?
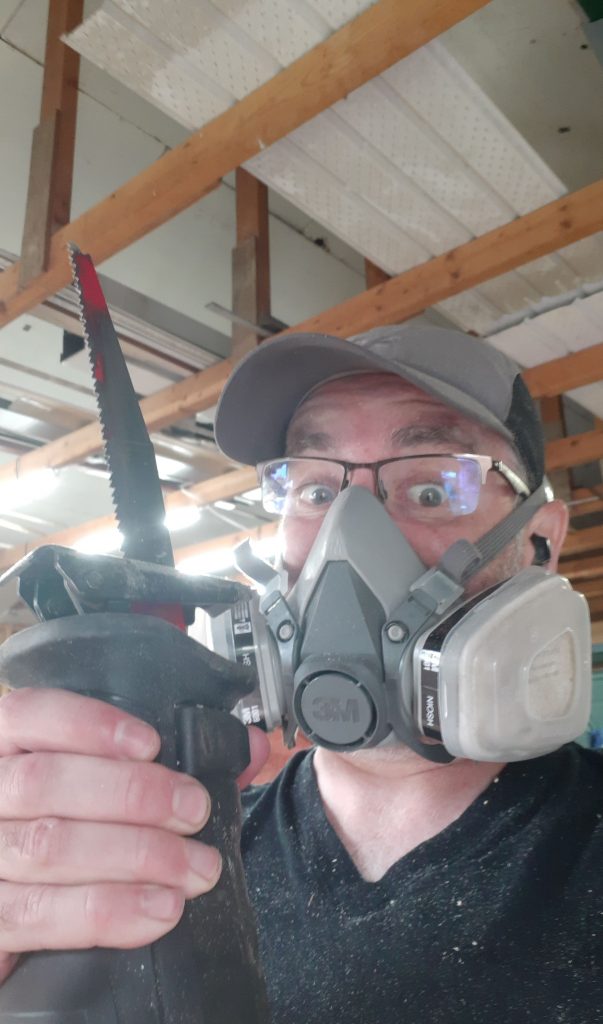
Okay, reciprocating saws are SUPER FUN!
Wall sections removed. then new internal vertical studs and new footer plate. Then ‘blue’ for sealing.
About halfway down the wall now. The rest got finished as well.
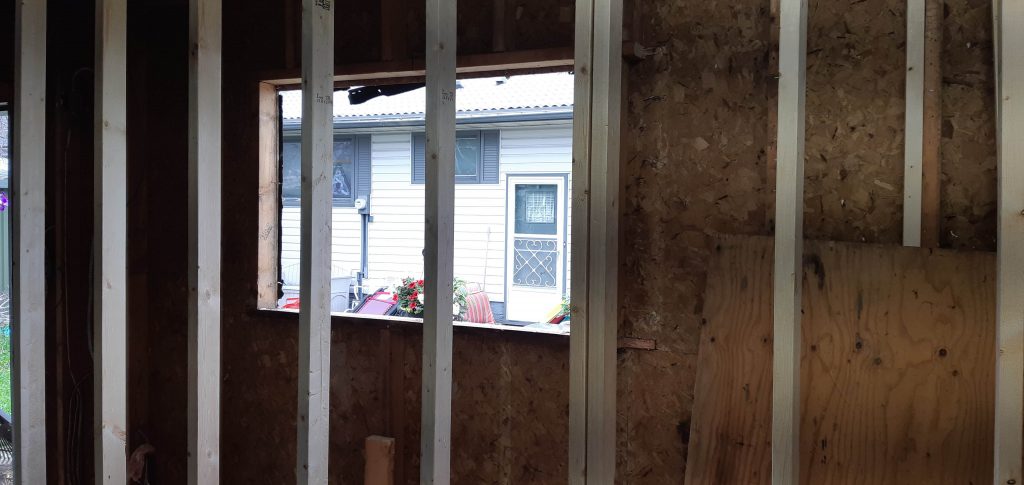
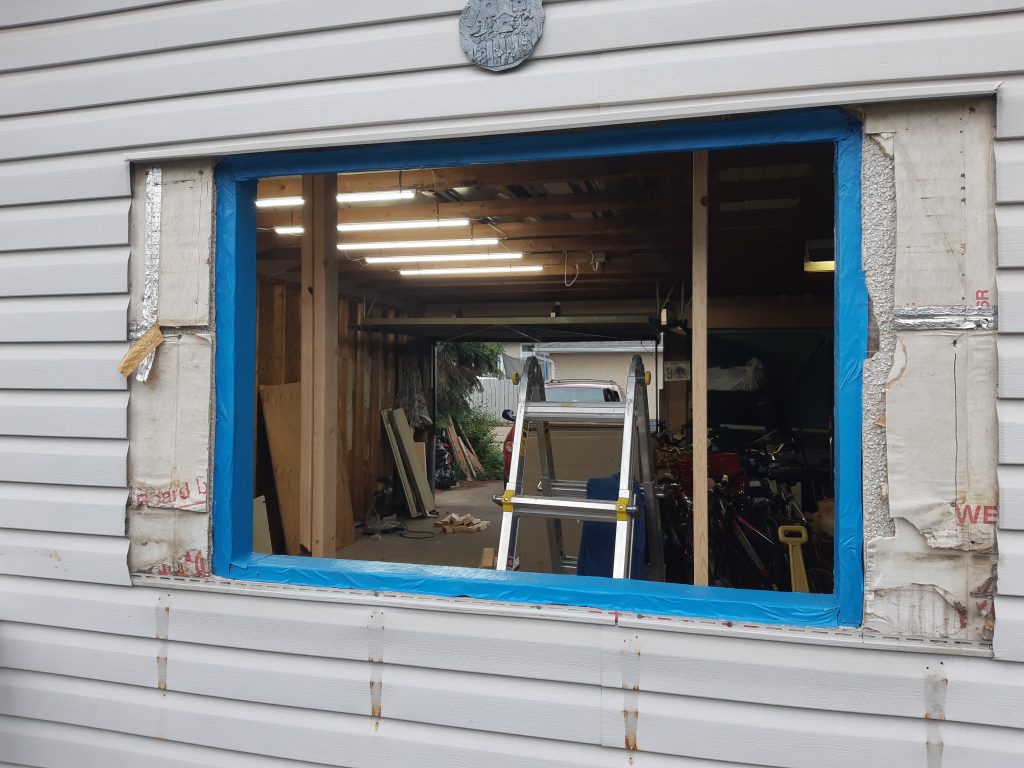
Bigger window will go here!
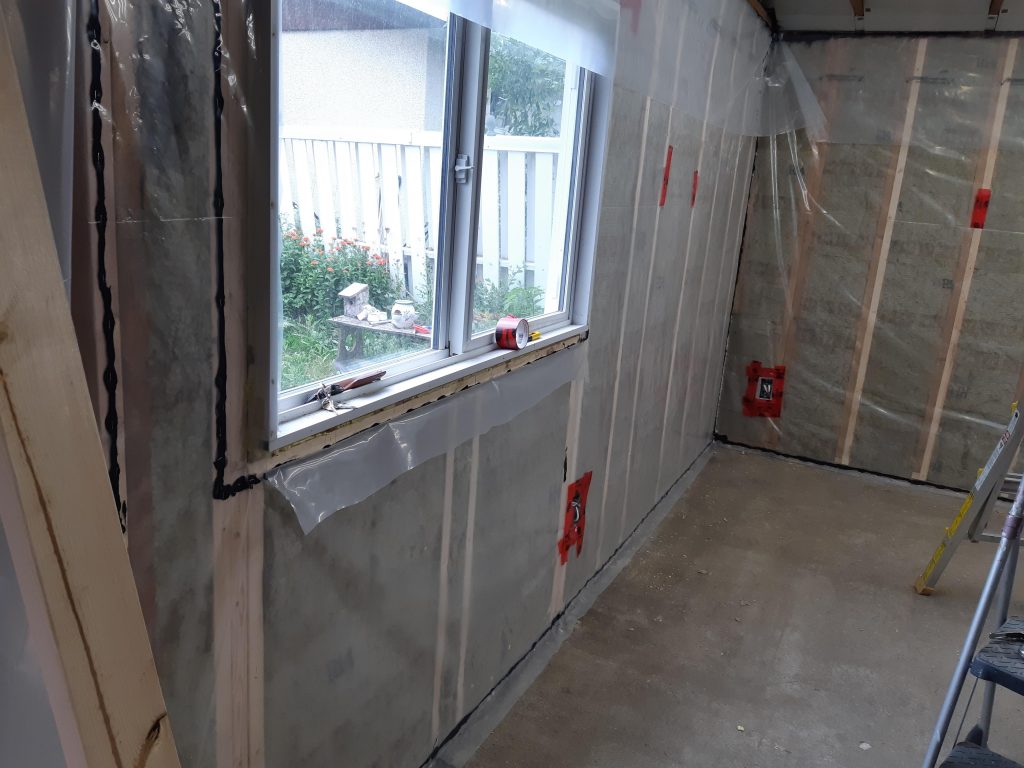
The bottom is mostly fixed and a new window was installed THAT OPENS. Much learning on that part of this project.
Oooooooh. Aaaaaaaah. I’m also never doing that again.
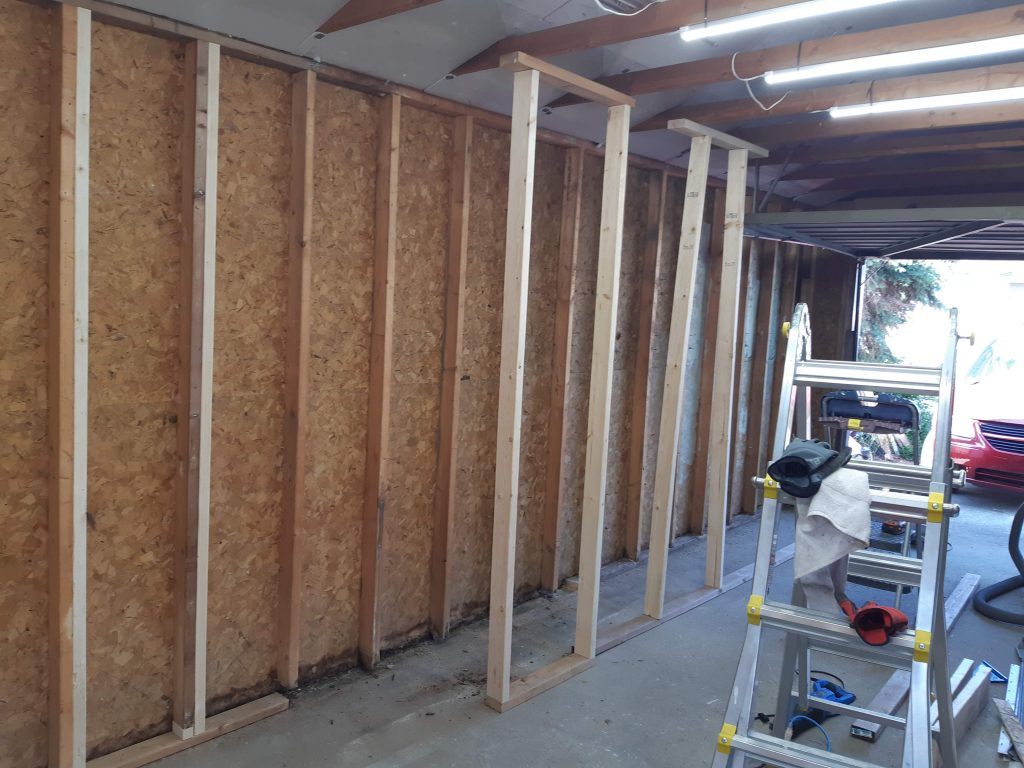
Yet another brace wall.
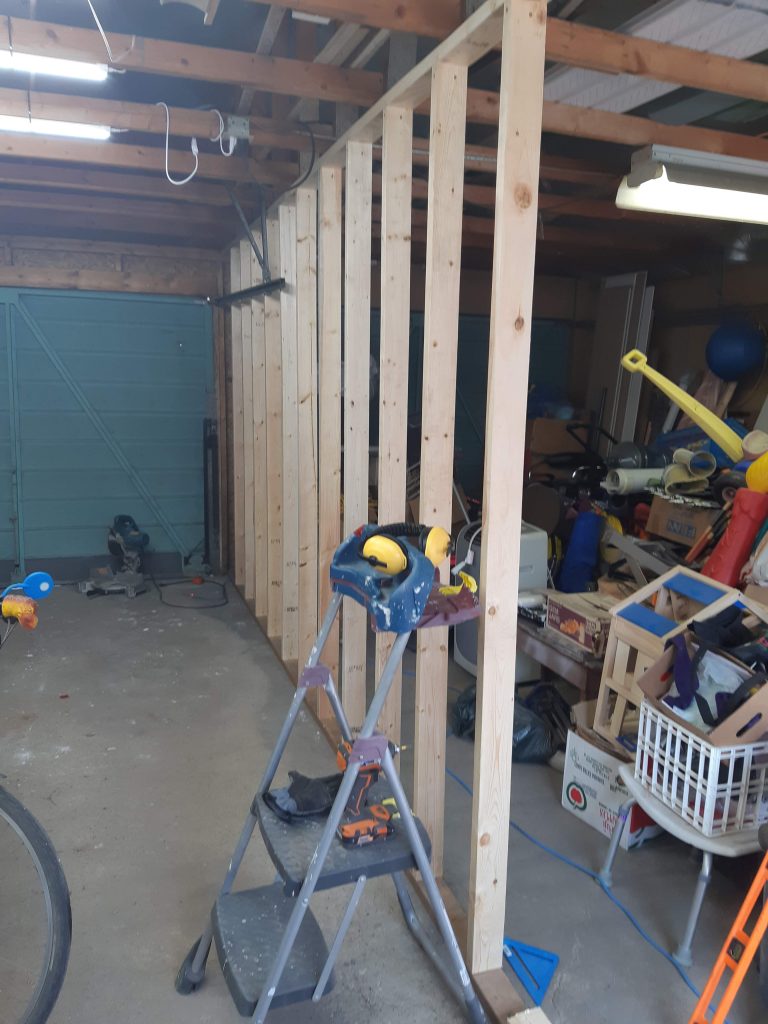
Replacing the worst footer sections on the outer wall now. Wall studs are being sistered.
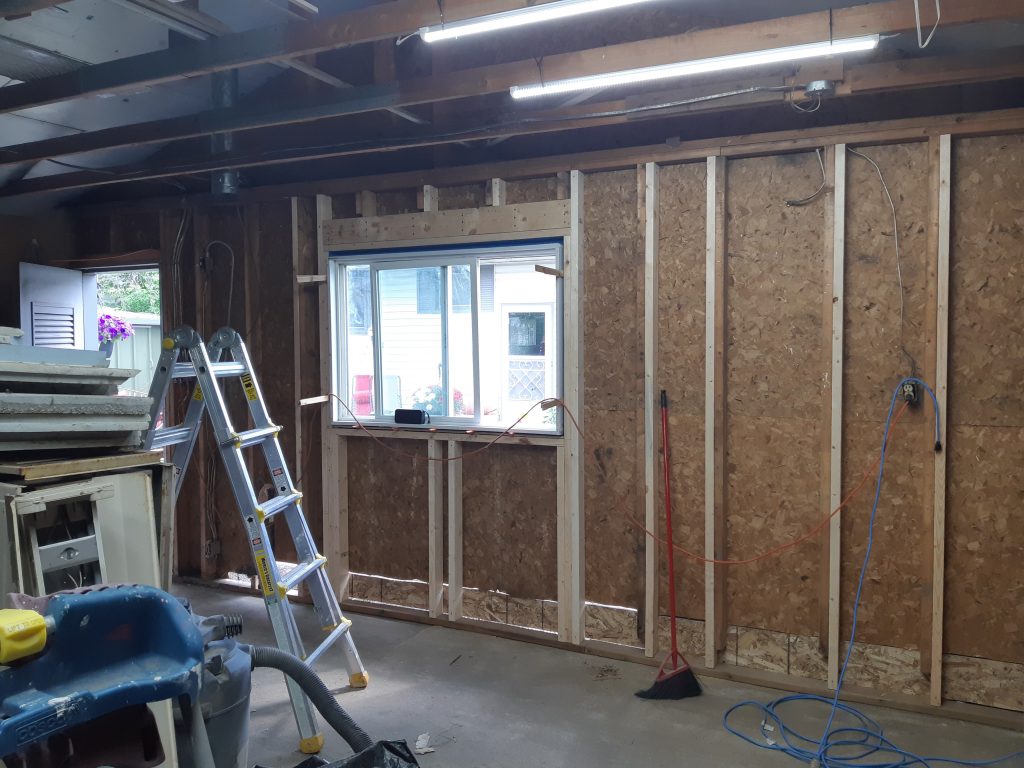
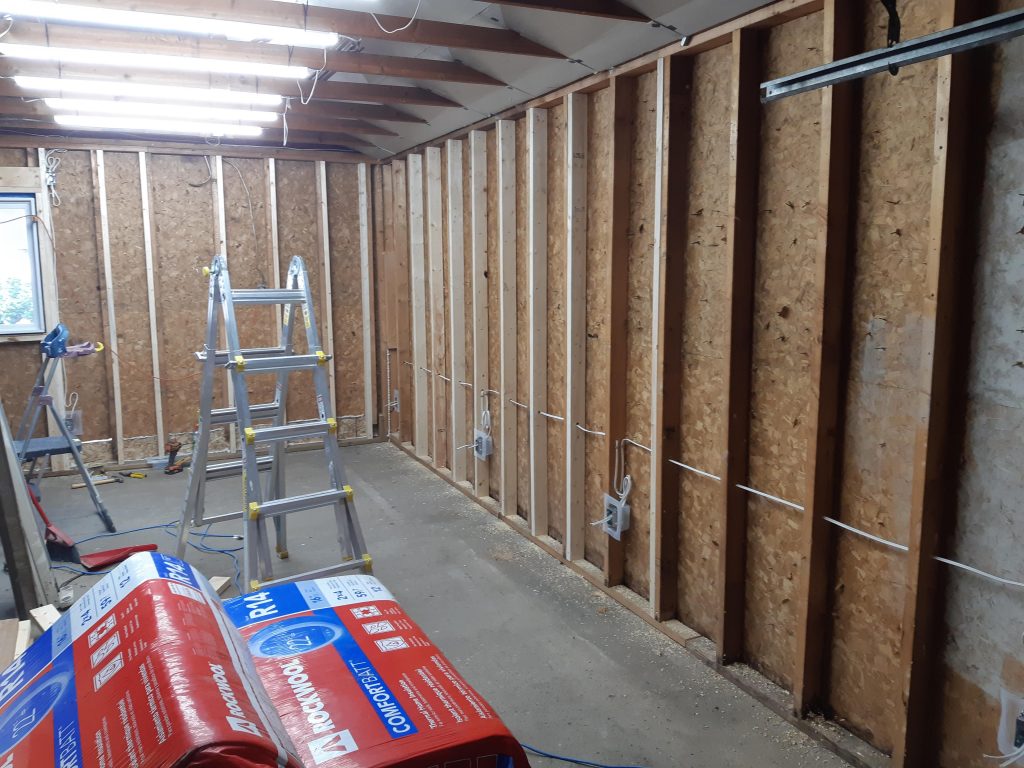
All fixed up AND wiring has been roughed in.
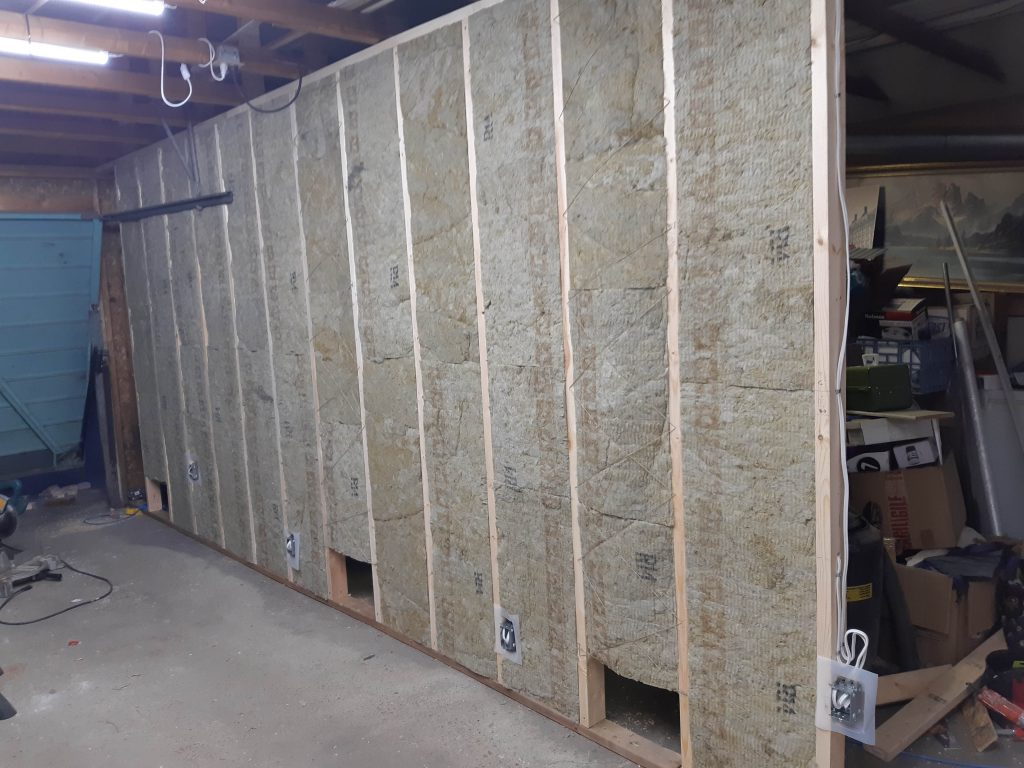
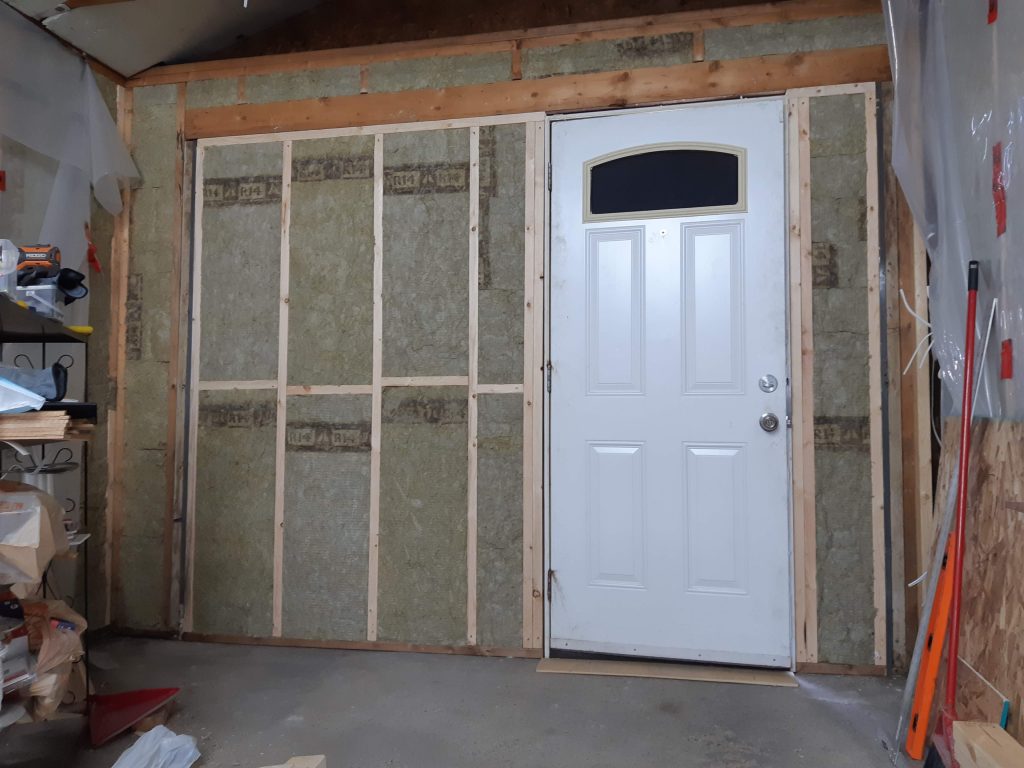
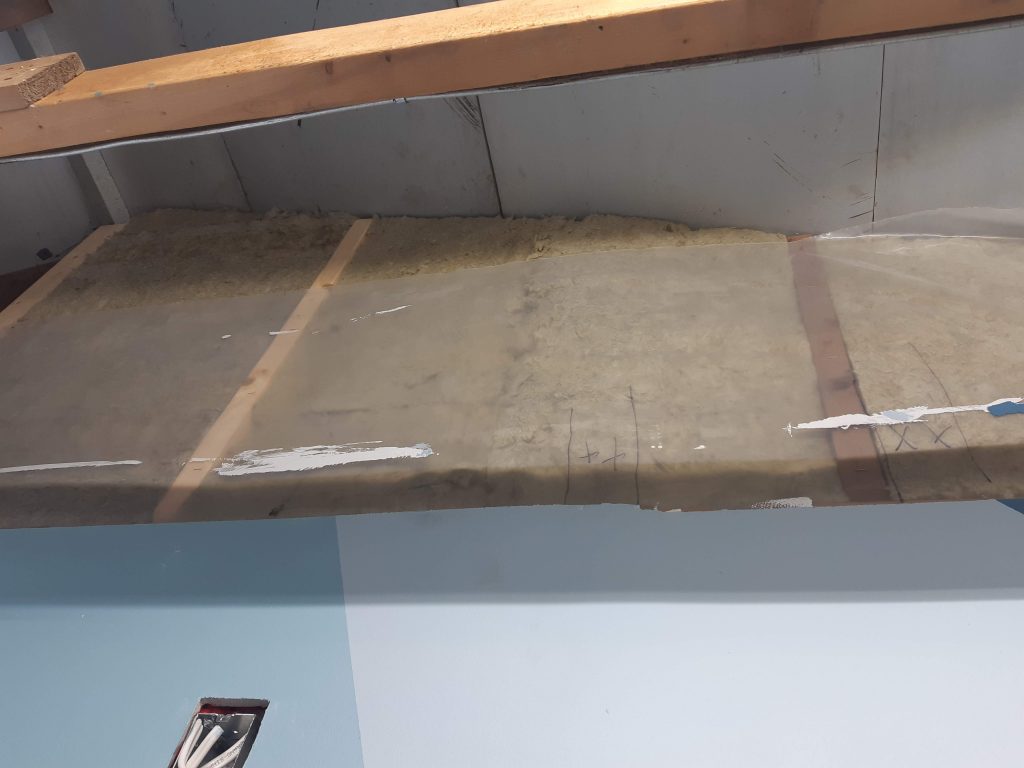
Insulation! A fair bit of custom trimming due to sistered studs but I got it done nice and crisp.
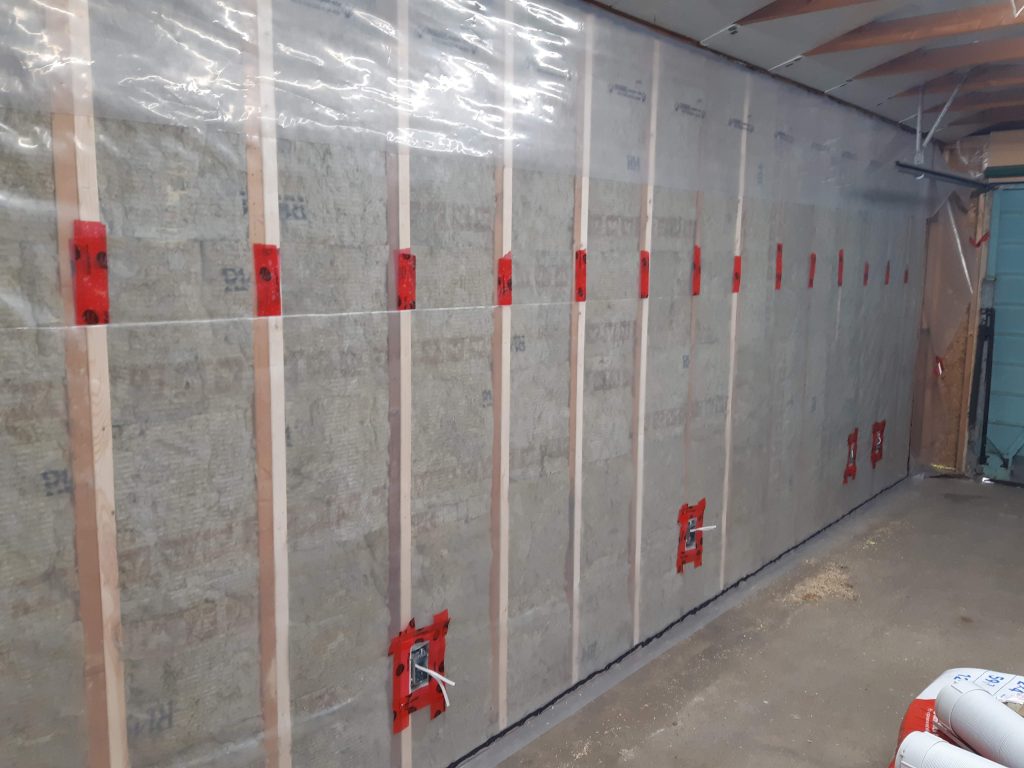
Vapour barrier is up! I used vapour hoods on the electrical boxes as well. This space is NOT going to be cold or breezy over the winter or too stuffy over the summer.
More vapour barrier applied.
There are still many other items with which I must deal. Ugh. The tiny black thing on top of the foam insulation on top of the furnace is a Bluetooth speaker. Tunes are a MUST when doing this type of project.
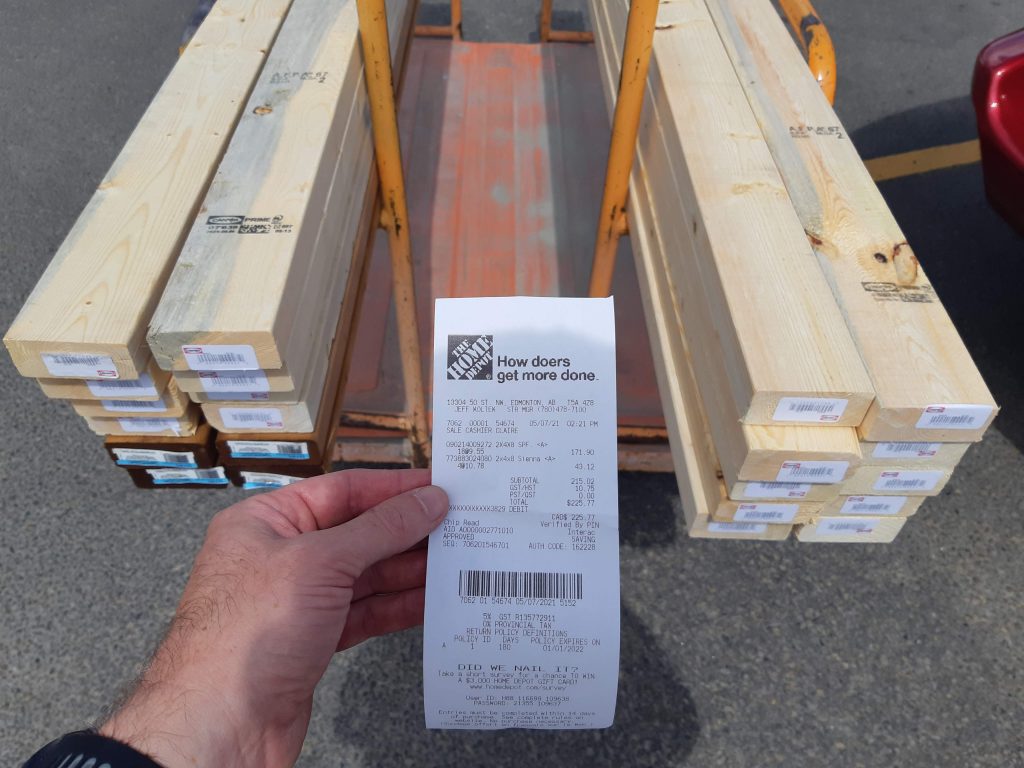
Bit more space sorted out. Now off to Home Depot to trade a kidney for some 2×4 lumber!
…ouch.
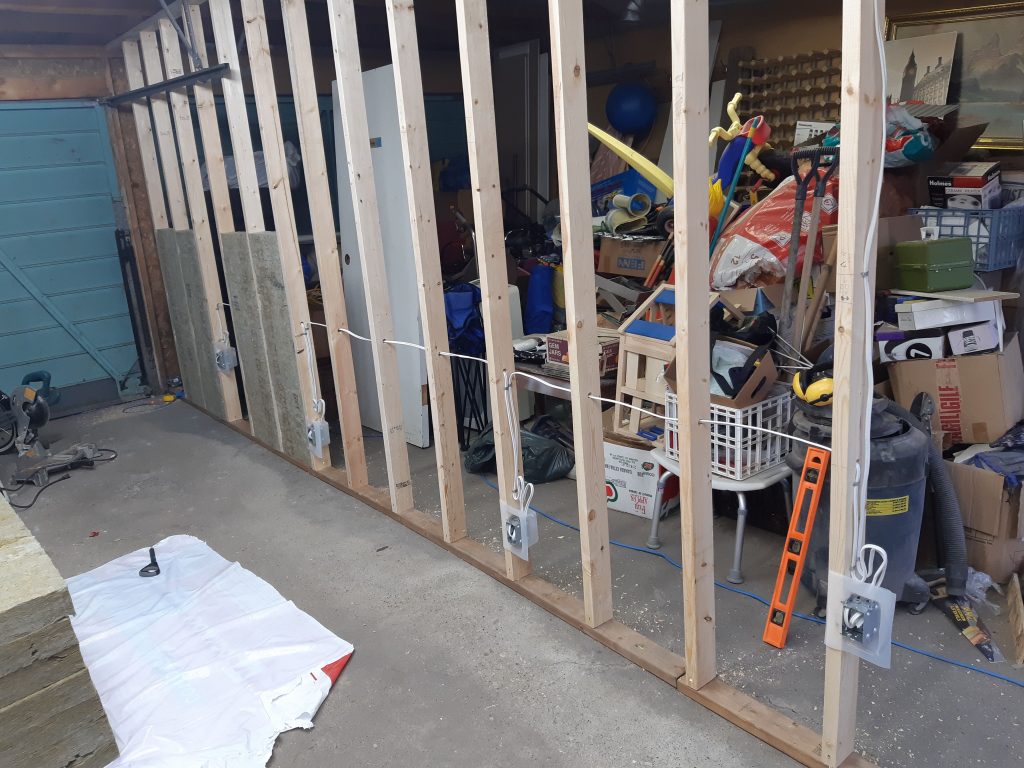
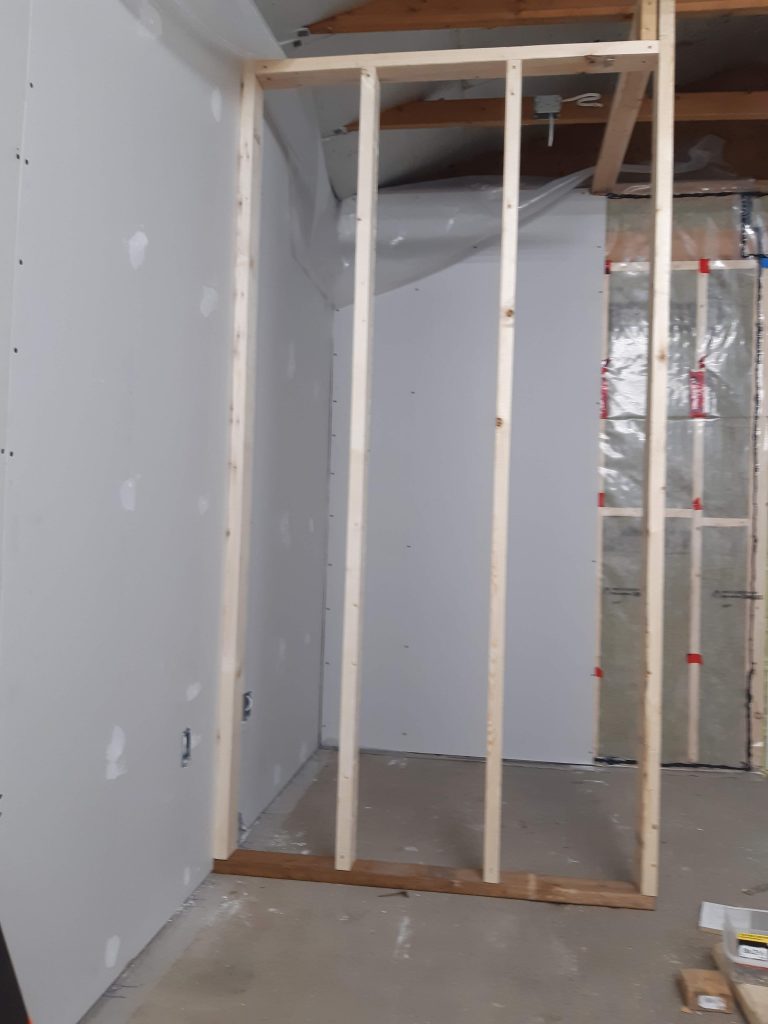
Working on the middle wall. Gotta leave space near the window for the other door.
Rough wiring is in and some insulation has begun.
Insulated! The three cavities are for cold air returns which I will frame/seal into the other side of the wall.
Delivery! Guy had the coolest forklift for unloading.
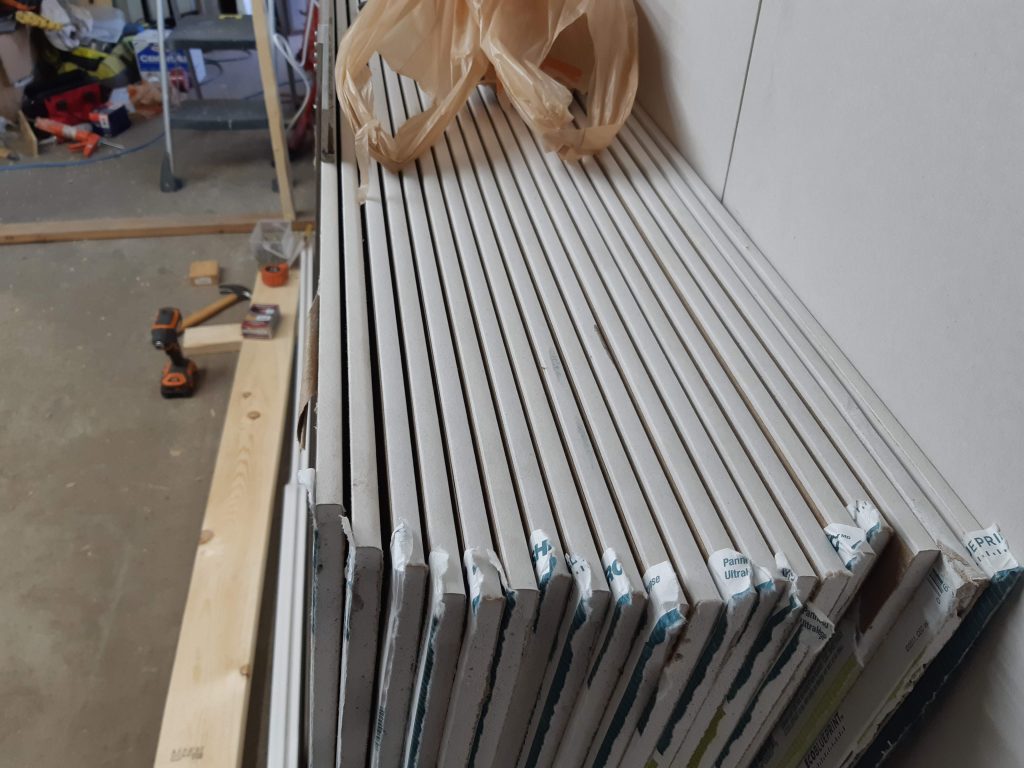
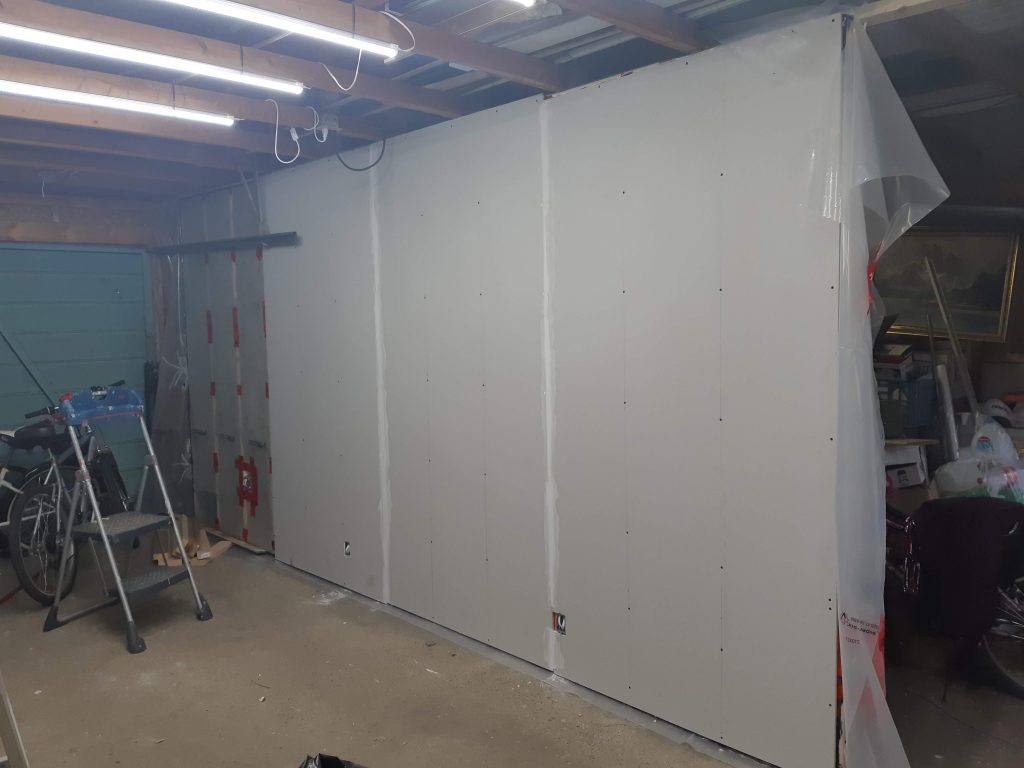
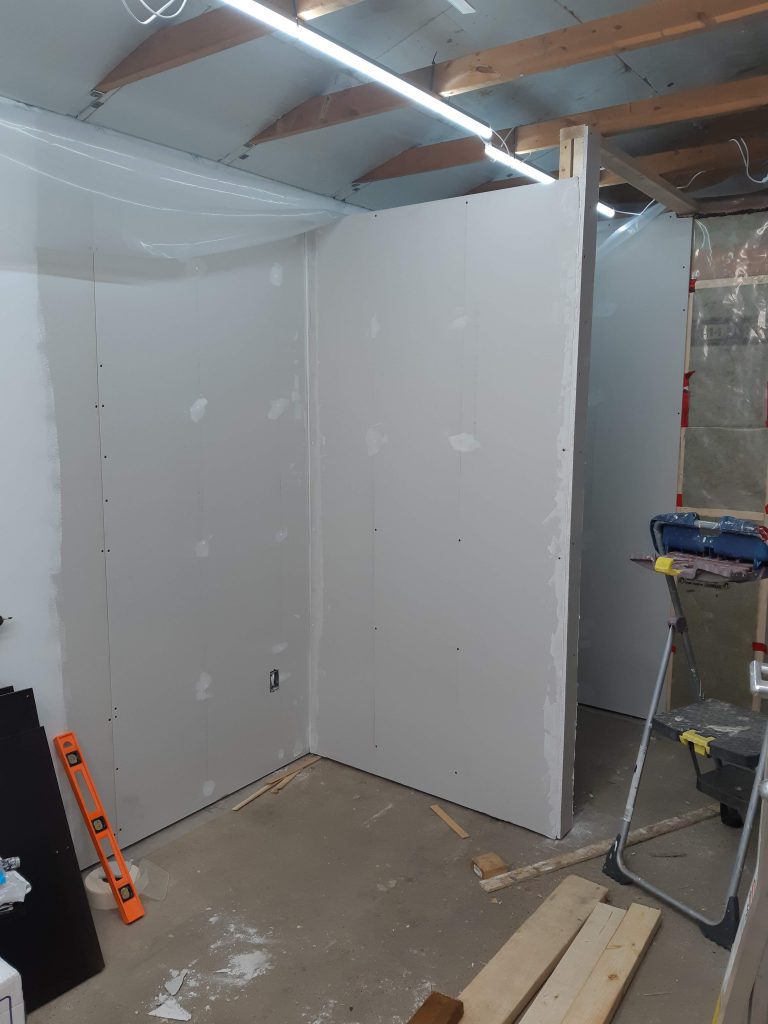
Center wall drywall application process is underway!
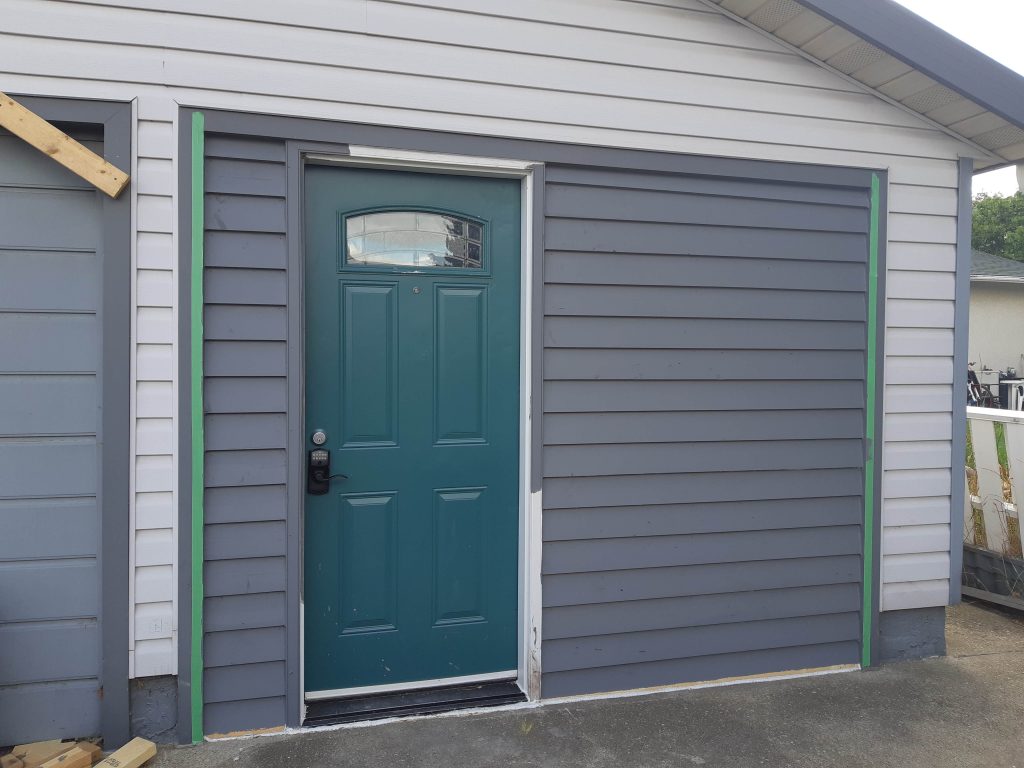
Window and outer wall as well! The green door will be for the driveway entrance. It has a 34″ wide opening for wheelchair and walker accessibility.
Just the alley end to drywall now.
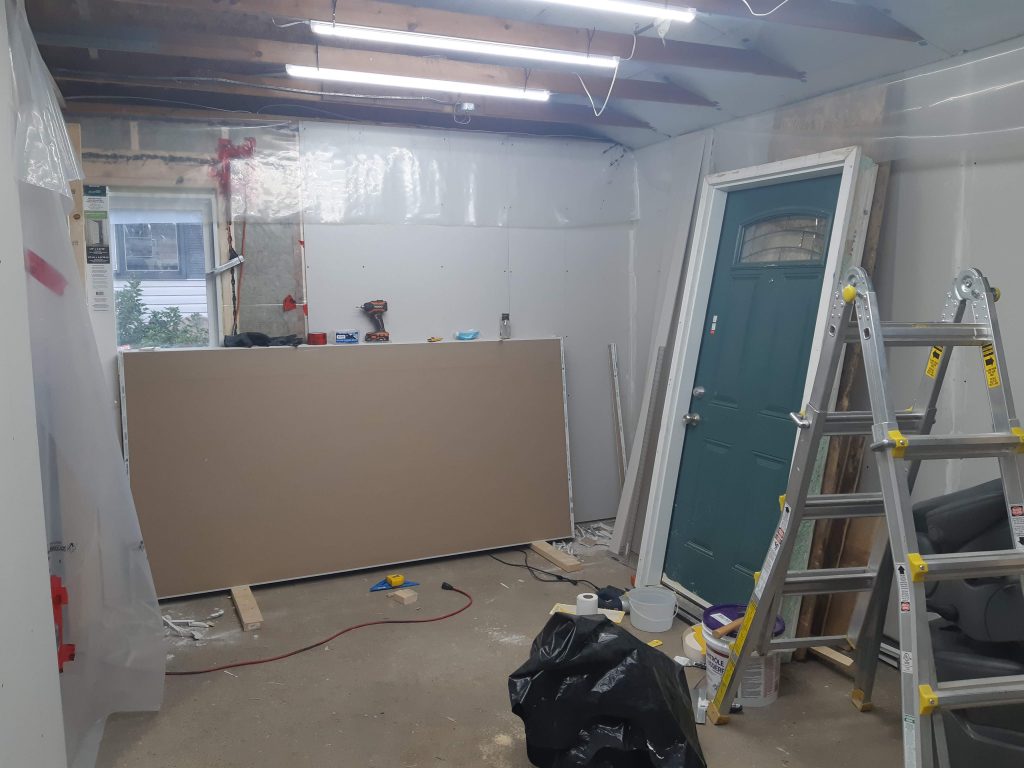
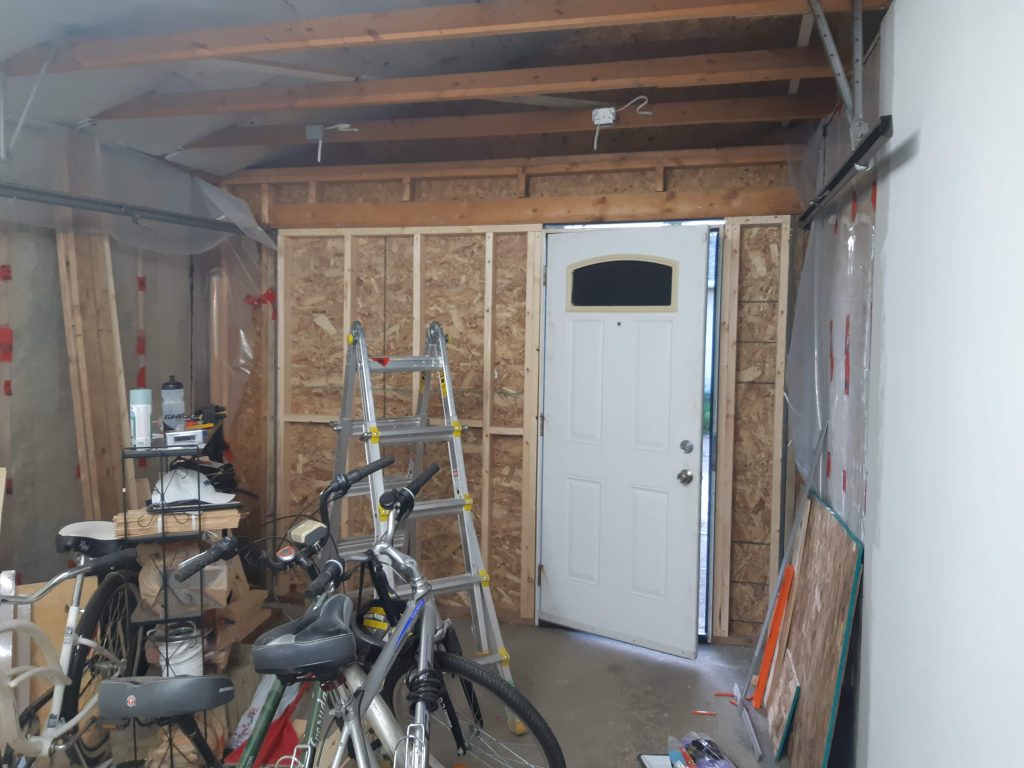
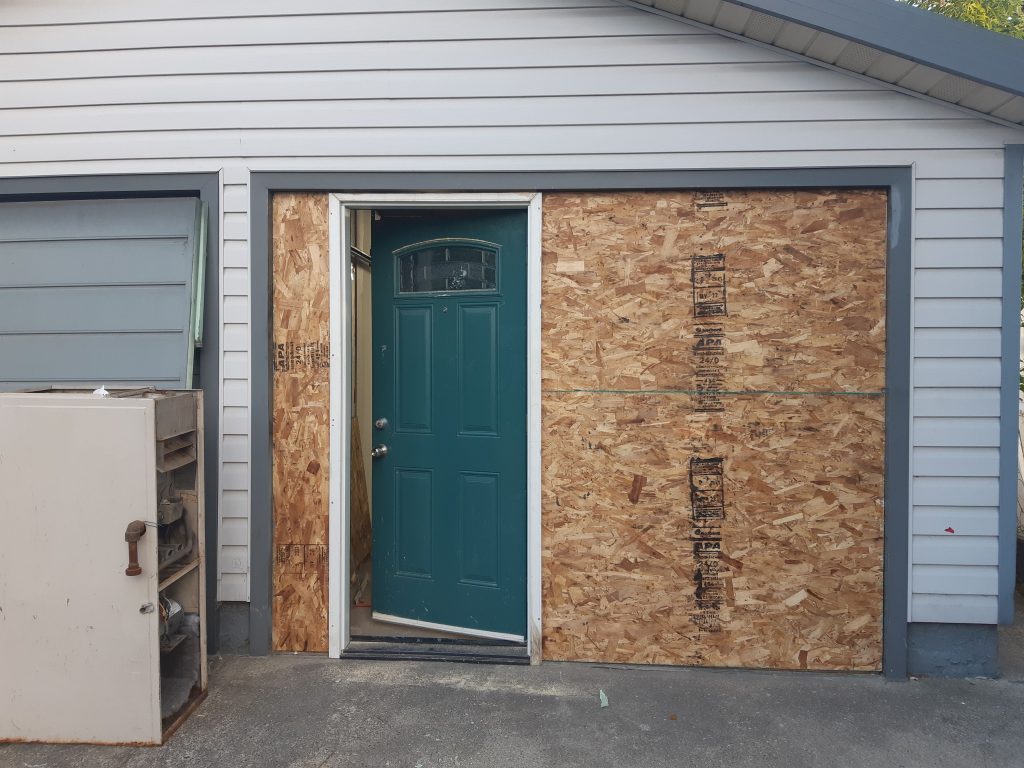
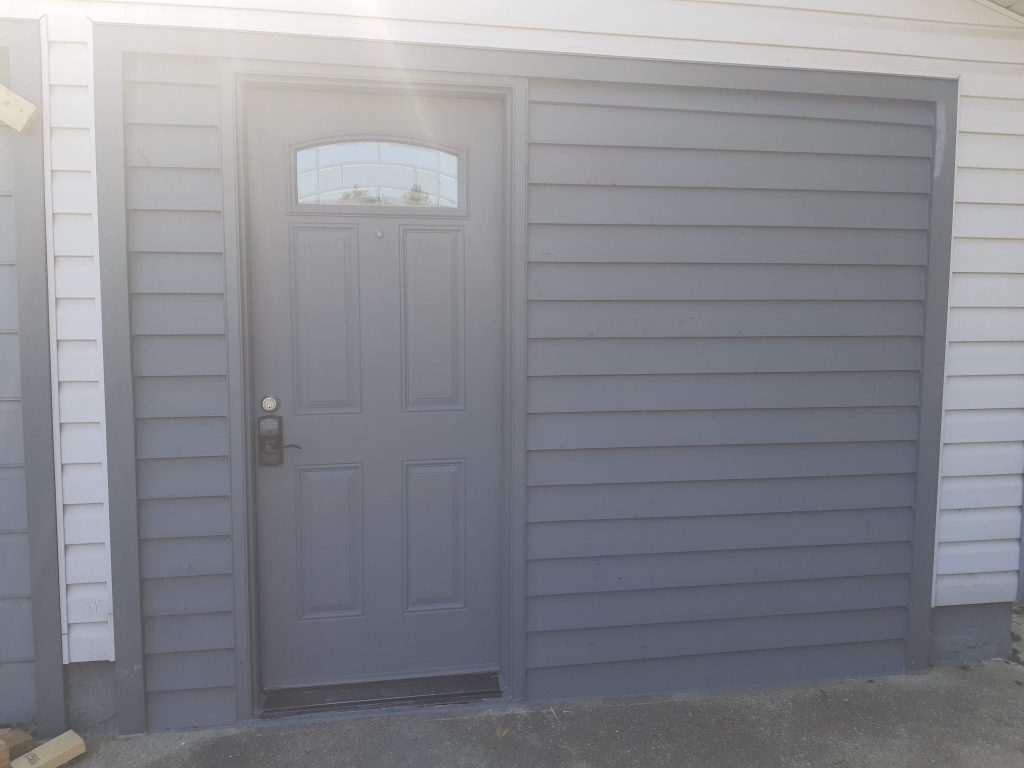
The garage door has been removed. The new wall is framed in. The green/white door is mounted. The outside is paneled. This had to all be done in ONE day so we could lock the space that night.
View from the outside. The furnace was not in good enough condition to use so it’s being hauled away. The now “spare” garage door is tucked behind it.
Insulation, once again. I also got kid2 to paint black all over the glass window segment of the door.
I used fence pickets to create a nice layered effect. I’m happy that it looks as nice in real life as it did in my head.
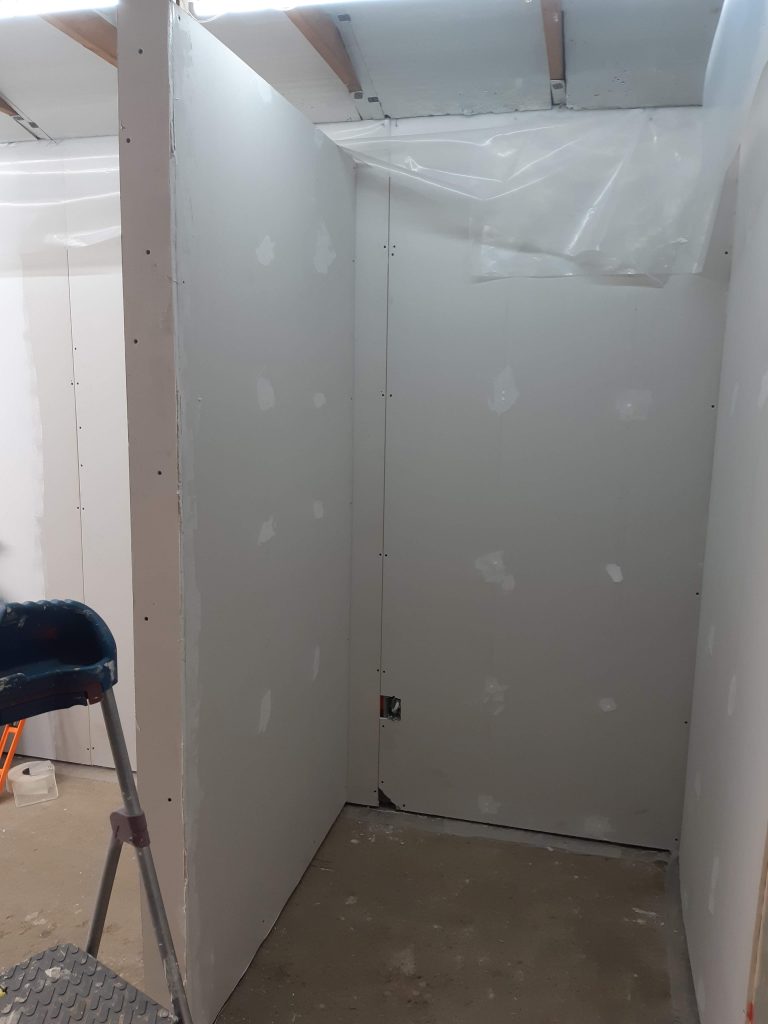
More drywall. I framed out the bathroom wall that my desk will go up against.
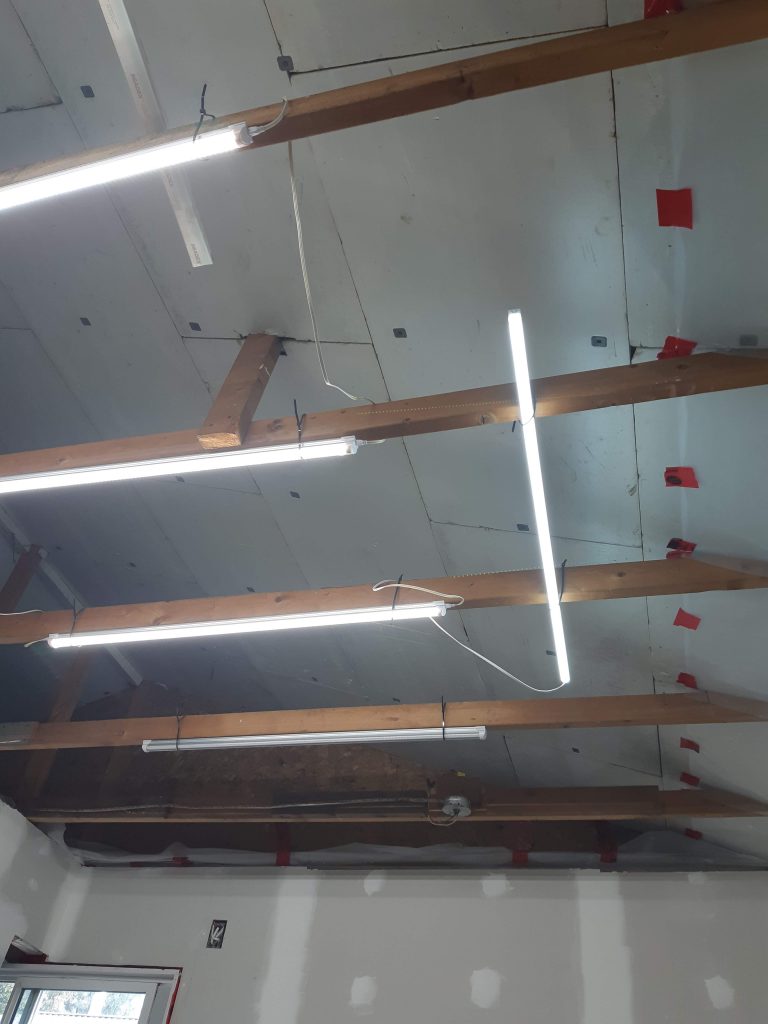
Lighting test! The solo bar there gave off a much bluer light. The OG bars I previously had installed were much more ‘daylight’ in their tone.
Look how much dimmer AND blue-tone that looks! ICK! This lighting idea was scrapped.
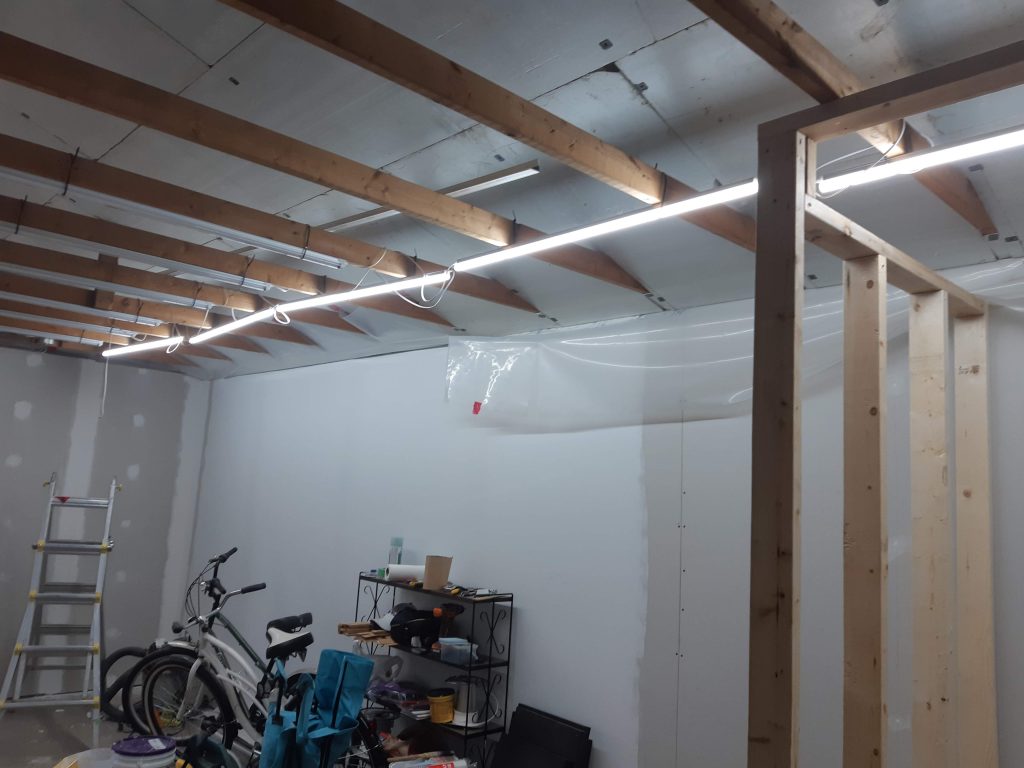
Painting the rafters white so they don’t pull your eyes upwards visually. The change is immediate and quite dramatic.
Bathroom is drywalled!
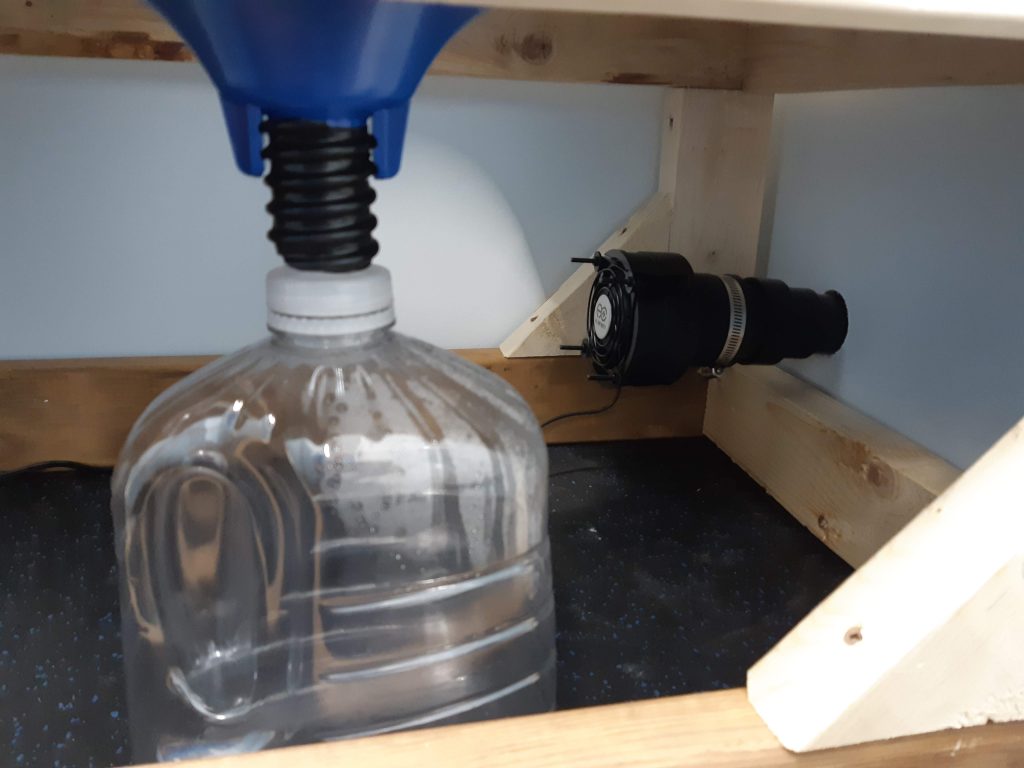
YAY! The plug powers the fan that draws air outside via a hole in the wall…which I have yet to drill…but will!
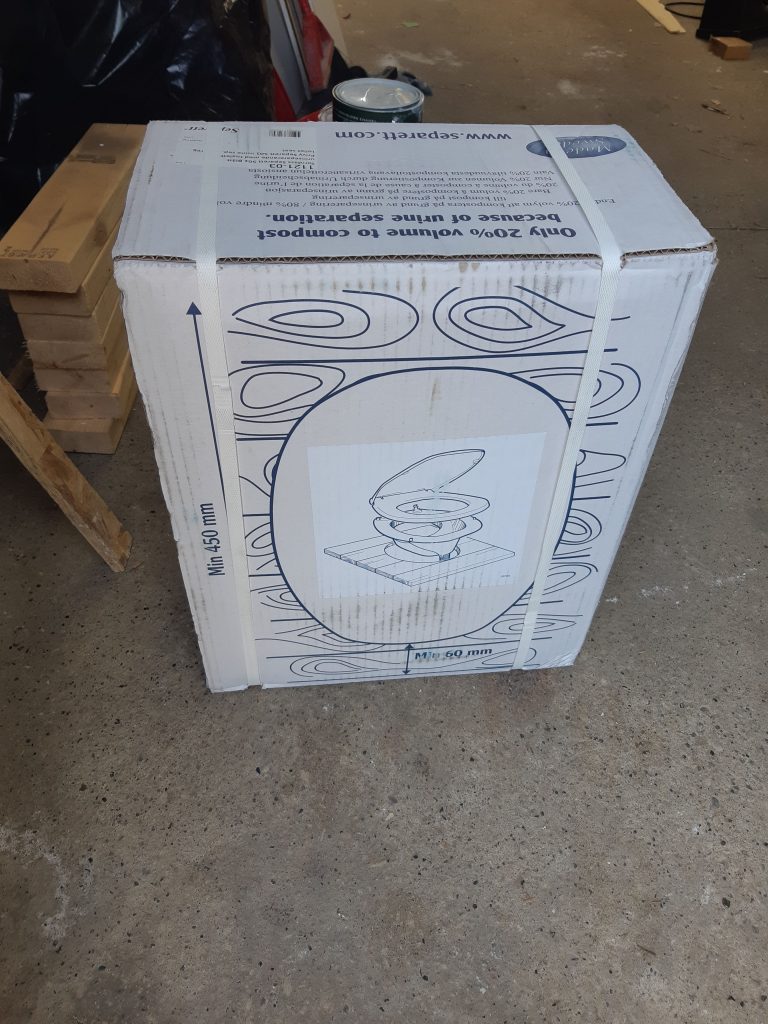
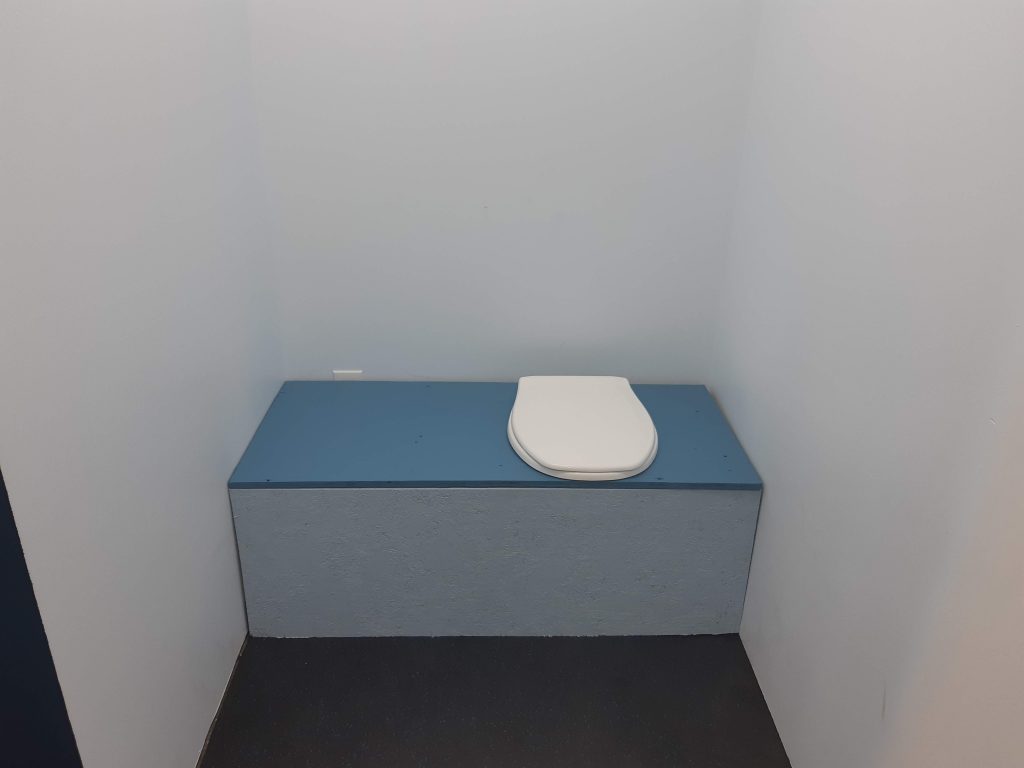
This toilet ‘diverts’ liquids from solids which all but eliminates odor. Plus it will be emptied daily, so no worries about “scents”. 🙂
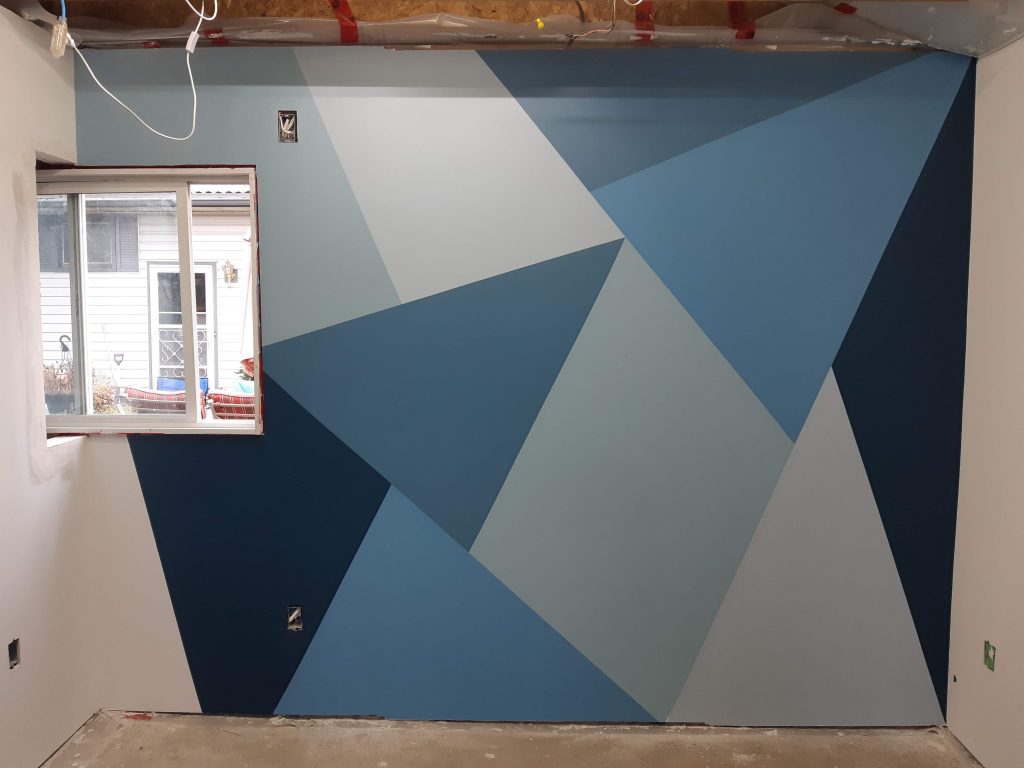
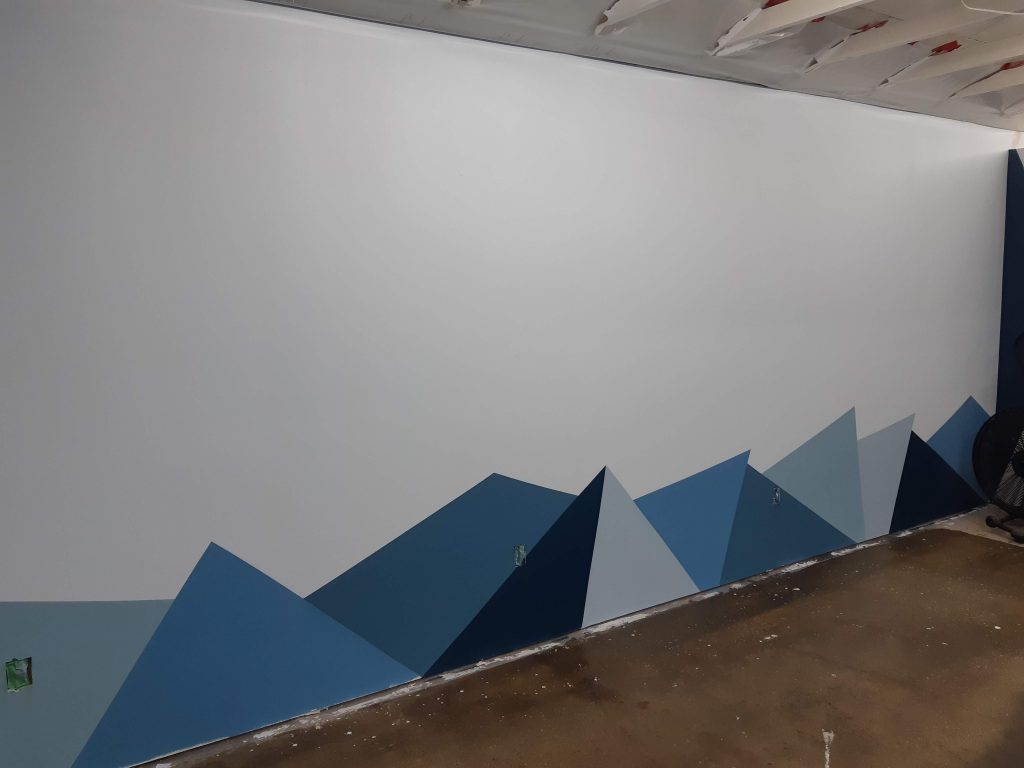
Kid2 and I created a rough visual idea, then went and bought 5 different colours of paint and LOTS of painter’s tape. This wall took 3 people and nearly 4 hours. But DAMN it looks good!
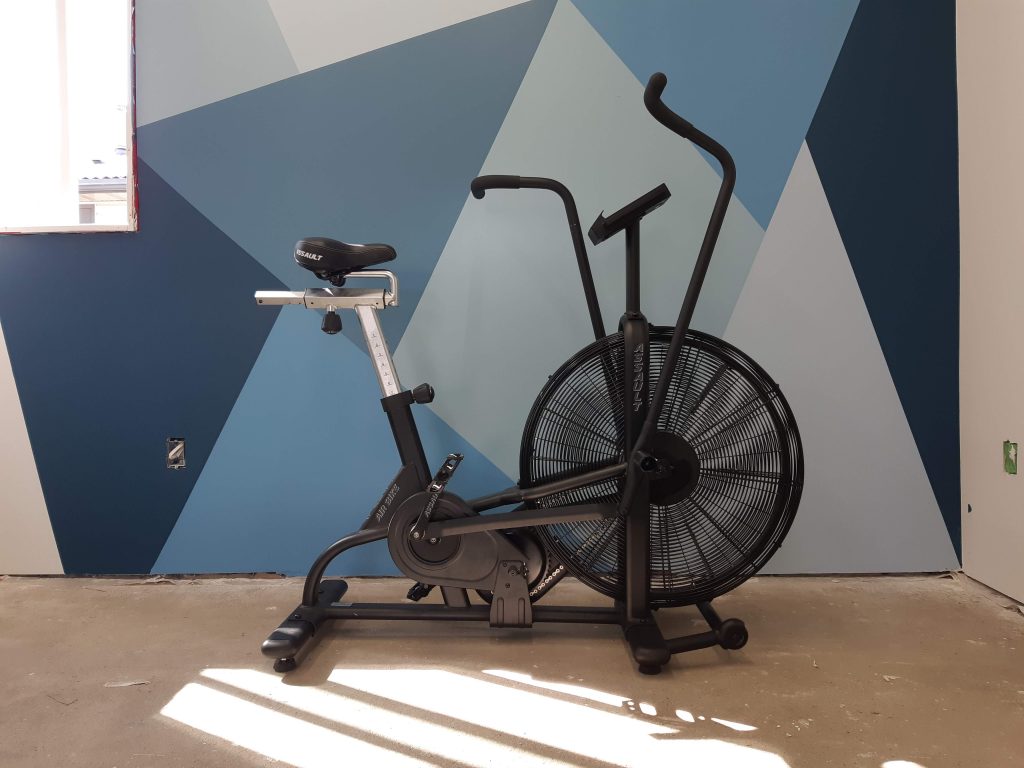
I scored this off an old triathlon friend for $800.00 cash. Barely used. If you ever want to do low-impact yet high cardio efforts…this is the equipment.
Painting of the middle wall, which will hold some mirrors, is underway.
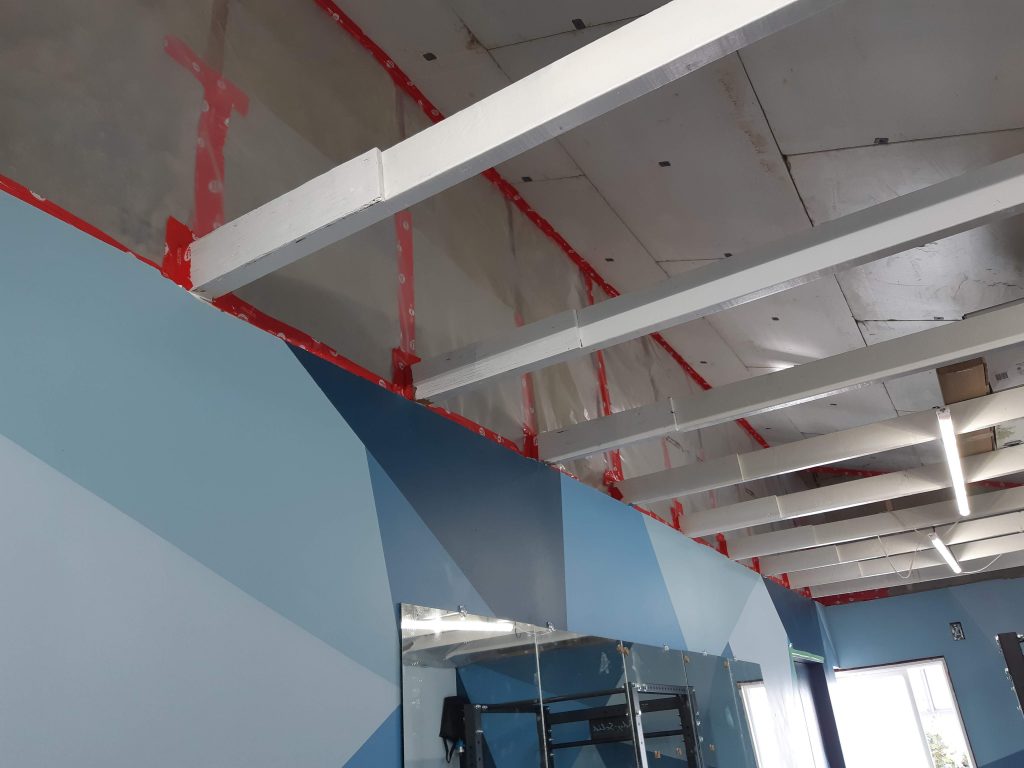
Getting the top areas all sealed up. This is the upper area of the window wall.
Working on insulating along the middle/shared wall and into the attic space. Much ladder stepping and moving, very sweaty work.
Going grey.
Looks distinguished! Gotta love the lighting for this shot. 🙂
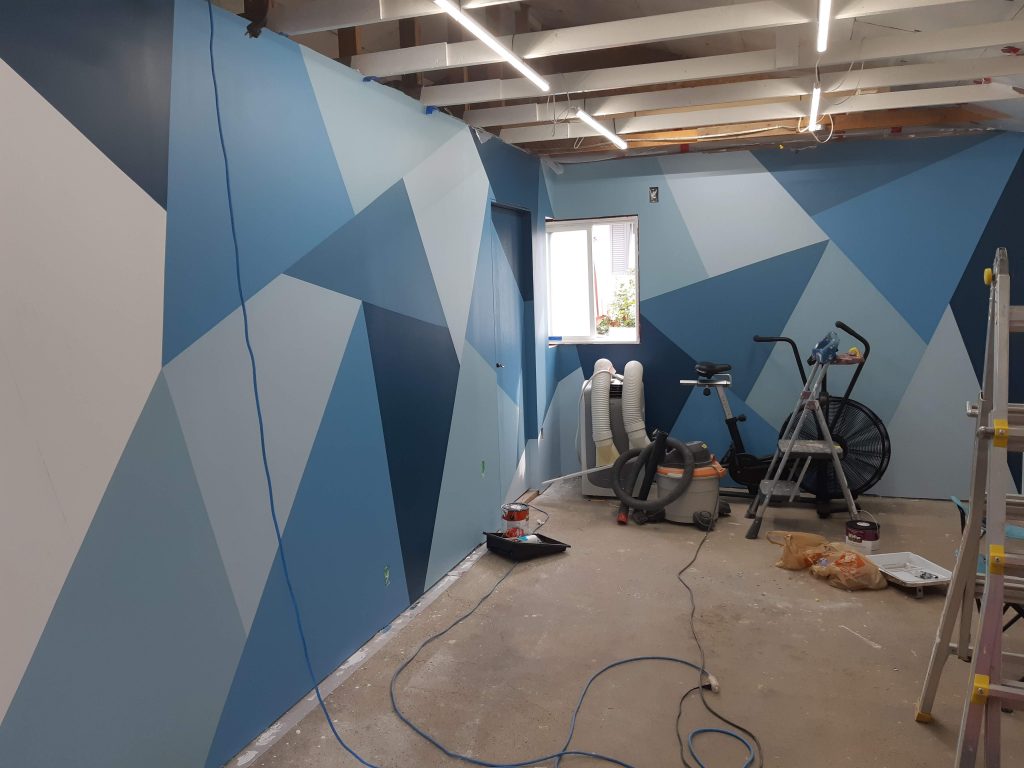
For the outer wall, we went with low blue mountains. This will be a backdrop for my video projects and zoom classes. I wanted something a little less visually overwhelming for my background. The top has a very light tint of blue.
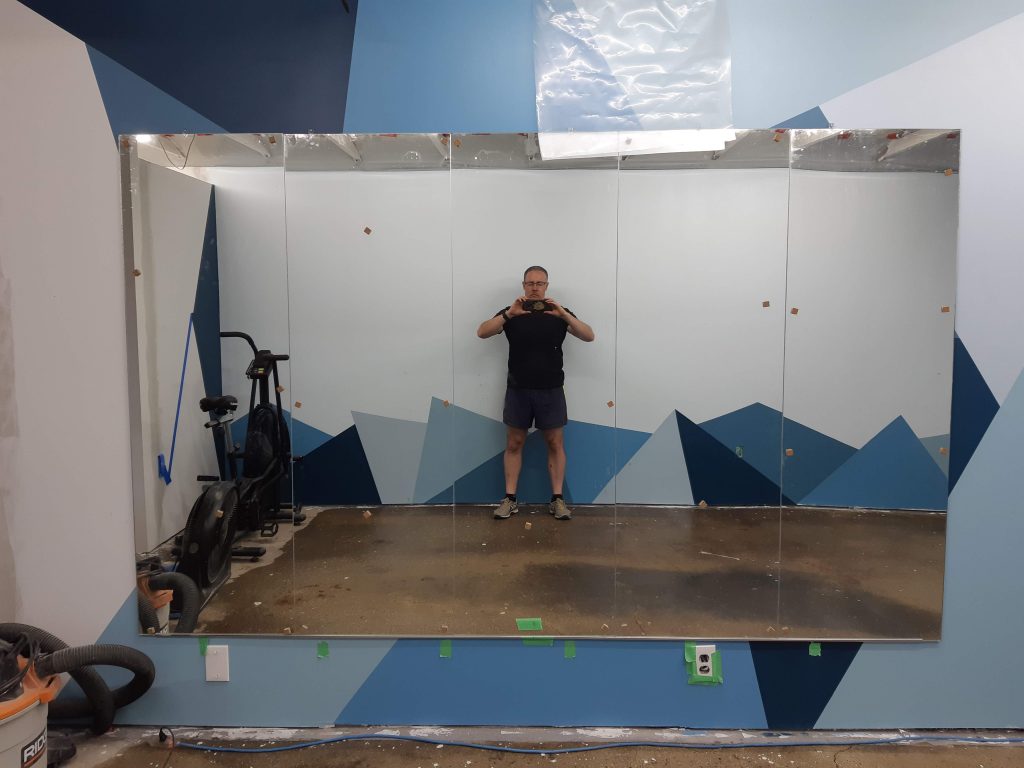
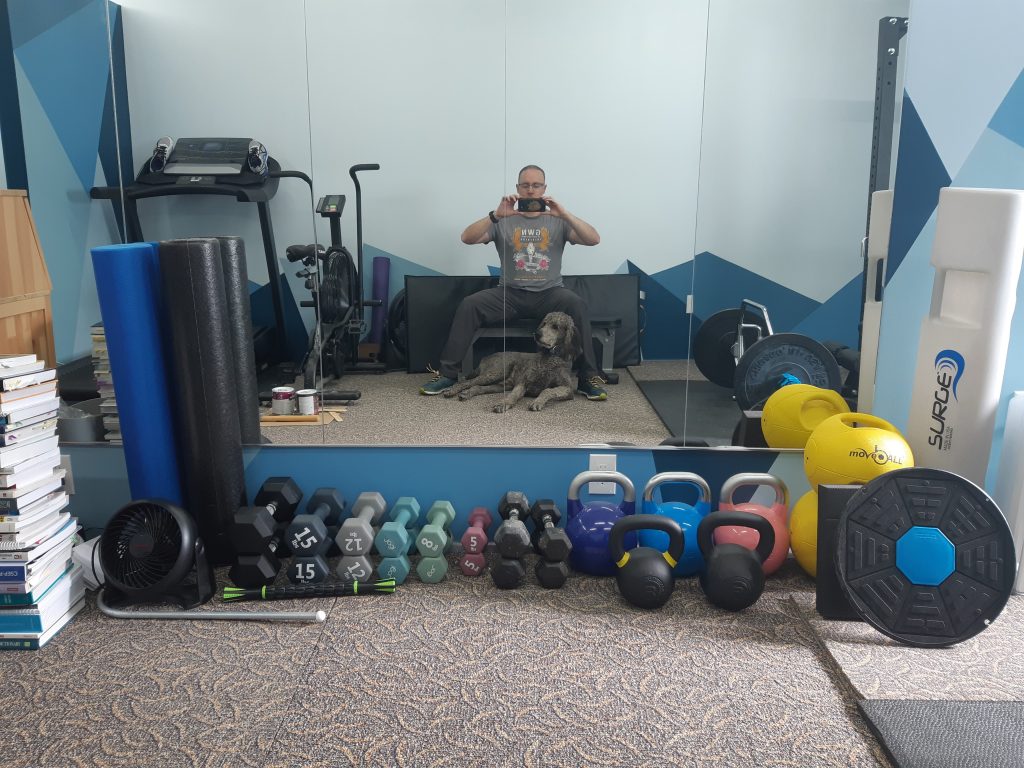
OMG! MIRRORS! Just over 8′ of width and over 5′ in height. Placed about 14″ off the floor. I agonized over the placement for several days. I think it worked out just fine.
The alley end still needs a lot of work.
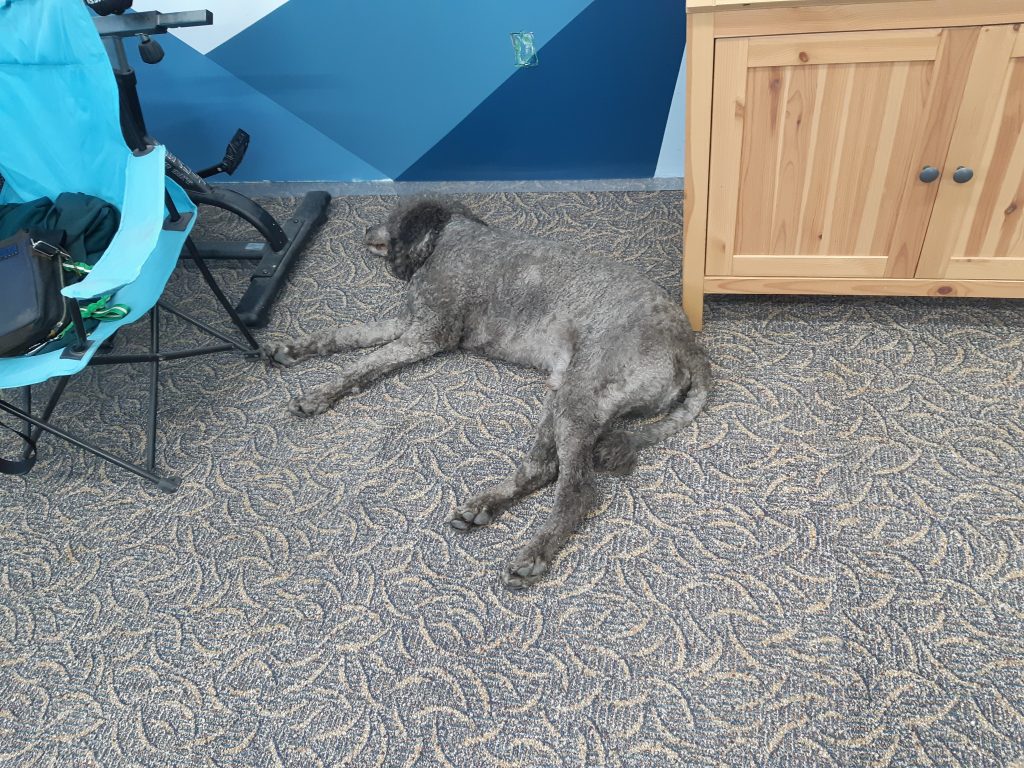
Temporary flooring provided by super cheap 3×3′ commercial carpet tiles from FB Marketplace. SCORE! Not permanent and will do the job for now. Also frosted the window for sun-heat reduction and privacy.
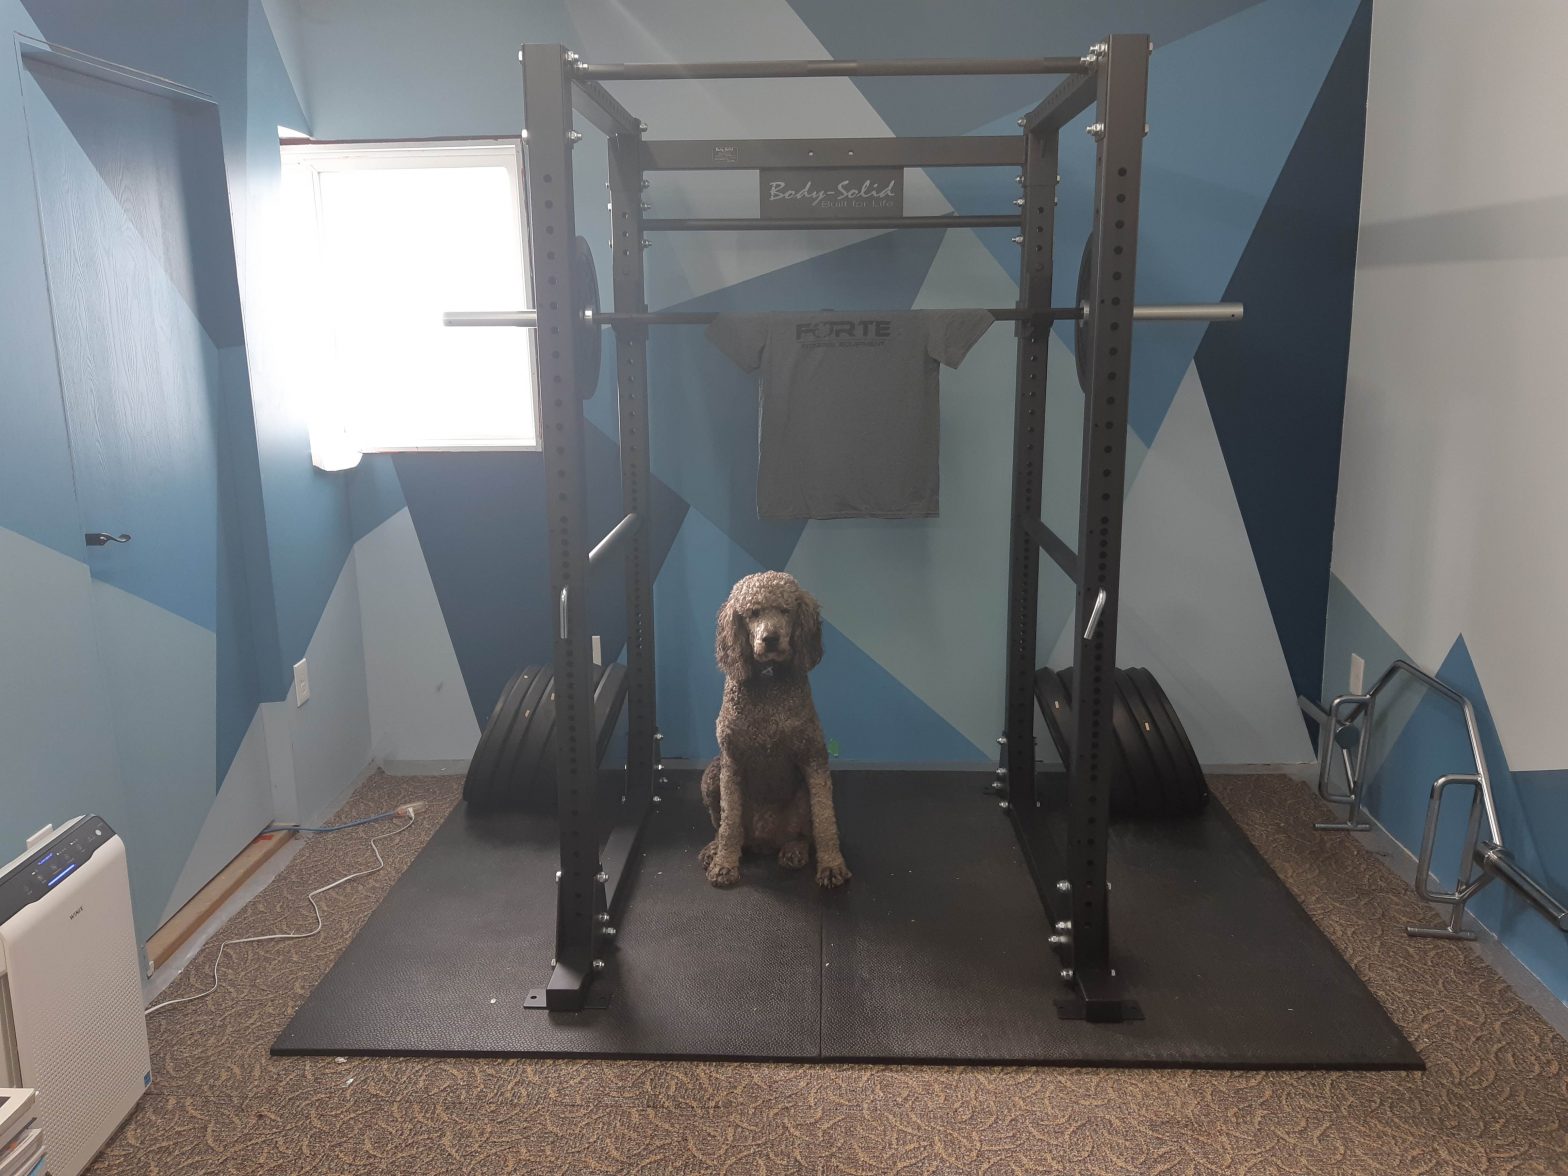
My dog/horse finds the carpet tiles comfortable enough.
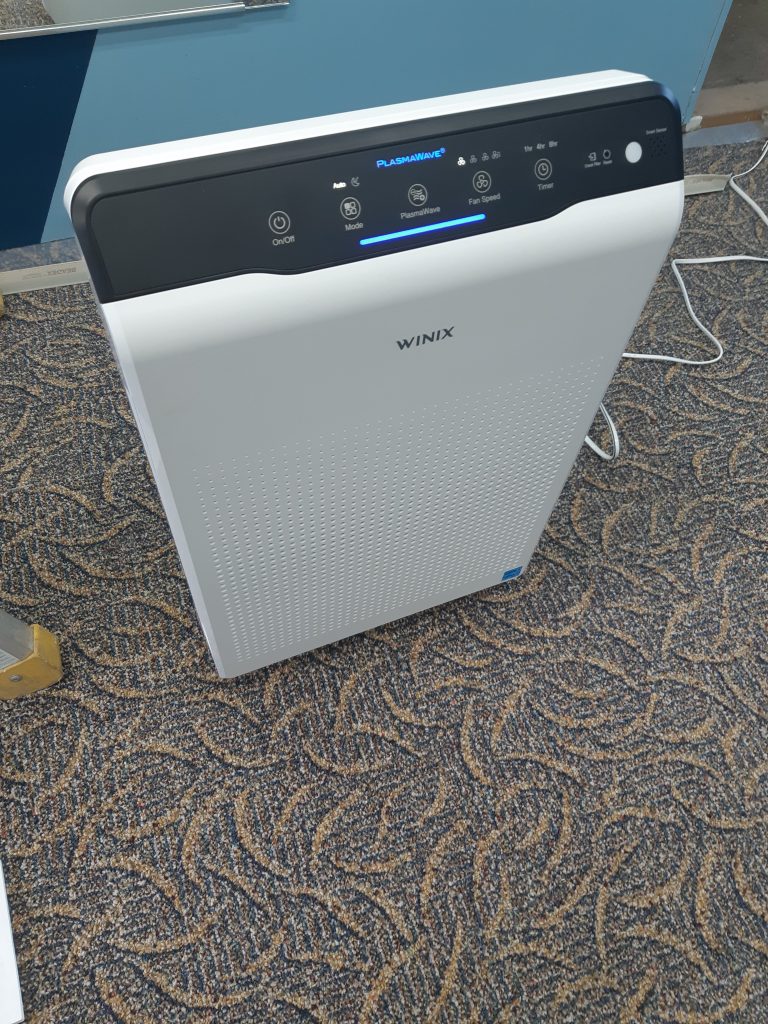
My new air purifier! Triple filters the entire gym air supply 6x per hour. HEPA, Deodorizer, and UV sanitizer. It makes me smile. It’s also quite quiet.
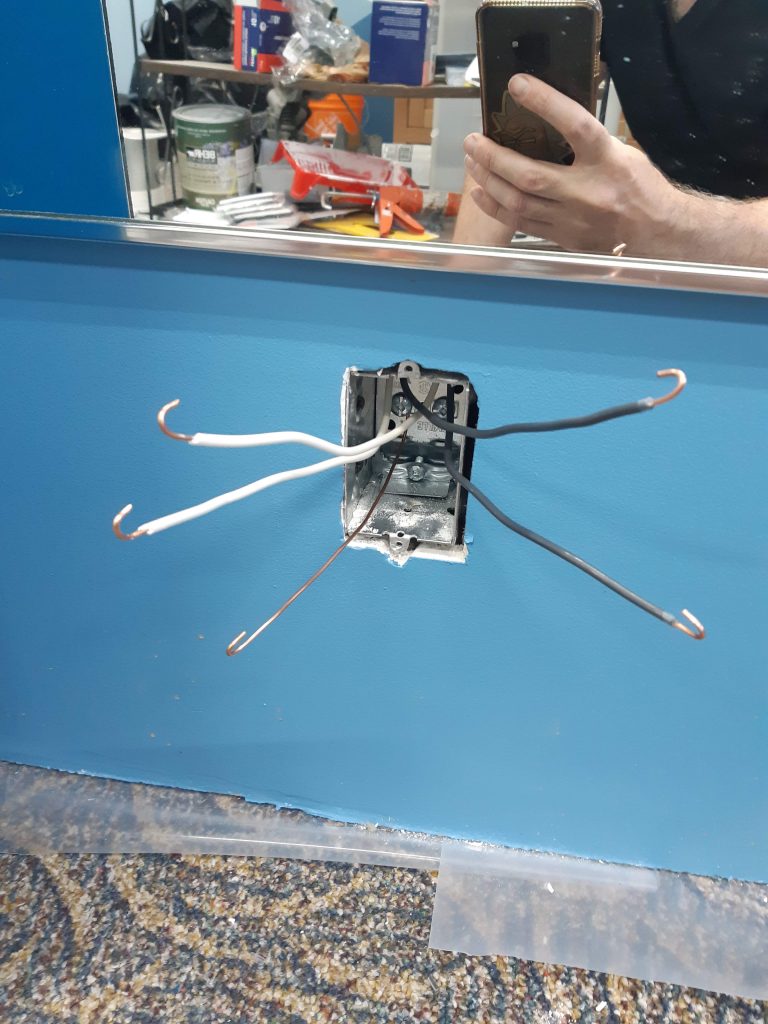
This wiring is just BEGGING to be connected to something and I am quite happy to oblige. I’m also super fed-up with using 25′ extension cords for everything.
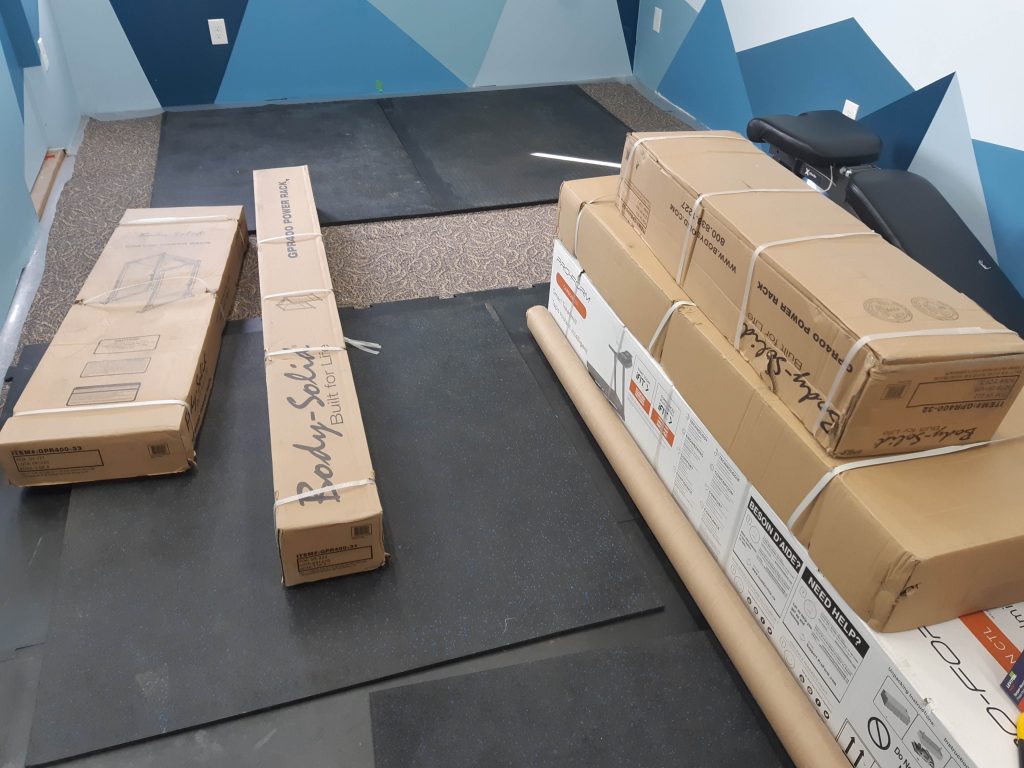
Power Rack (three boxes worth)! Power Bar! Open-ended Trap bar!
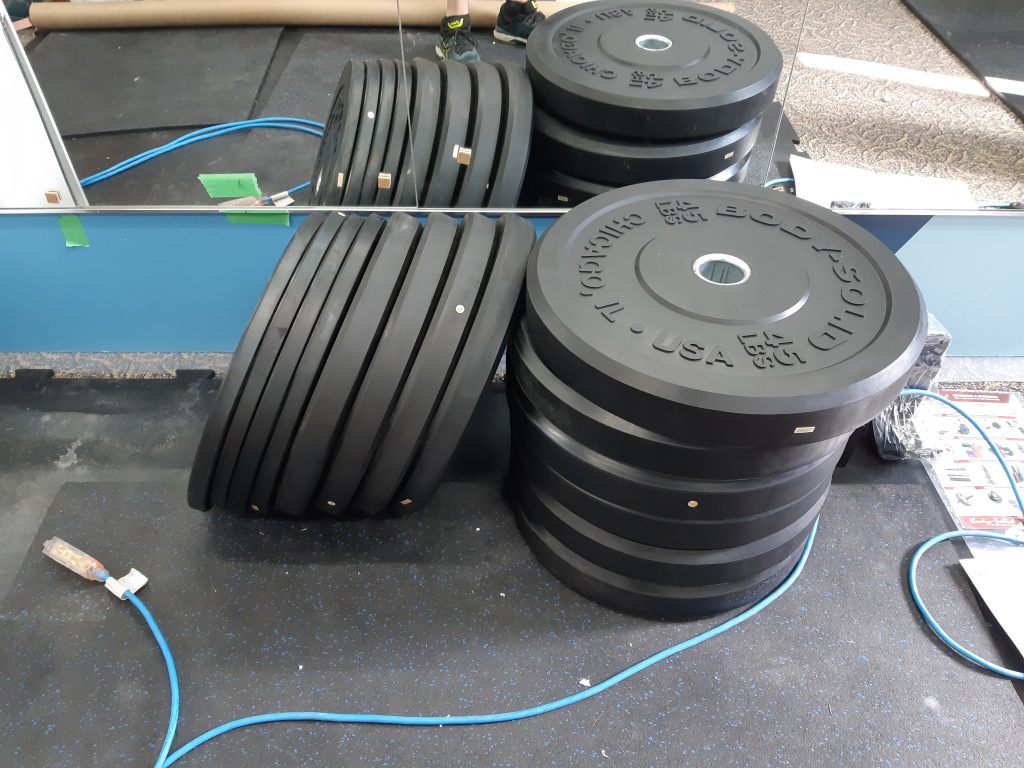
410lbs of bumper plates with multiple pairs of 45, 25, and 10lbs. I’m super excited right now!
Power rack assembled. This took longer than I expected. Even with my dogface “helping” as much as he did. 🙂
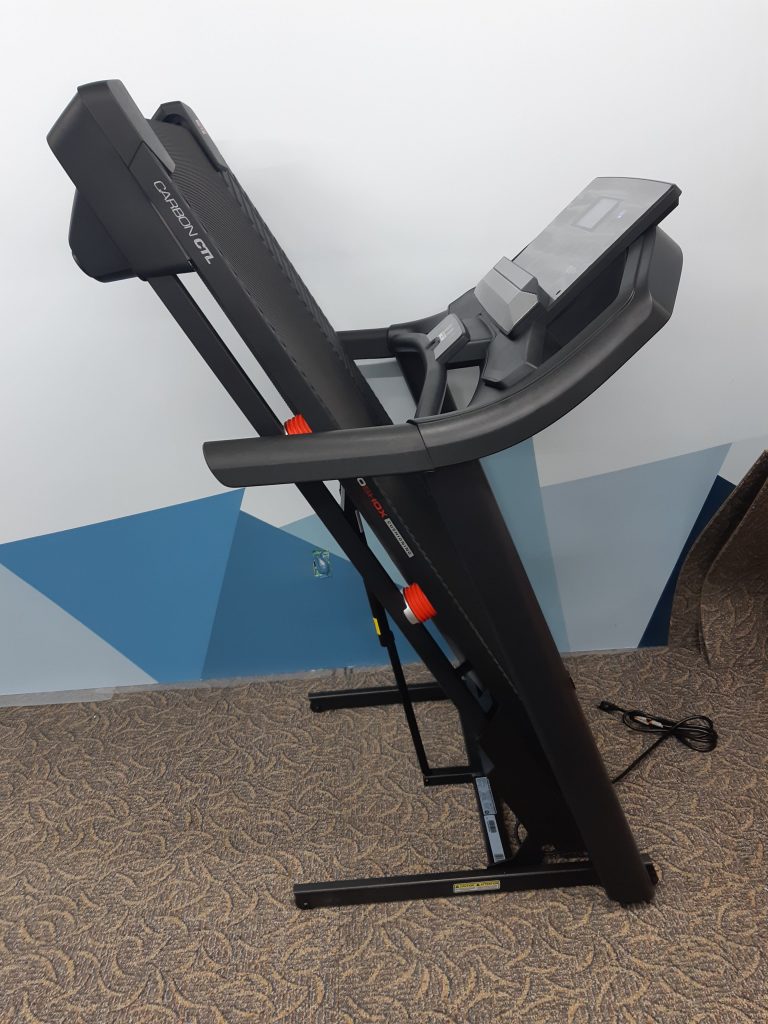
Treadmill also assembled. Much thanks to my friend K for coming over to help swear with me for a few hours. This assembly manual was the WORST thing I’ve read in my entire life.
I installed a solar light motion sensor thing over the back driveway. This alley has NO streetlights and it gets PITCH black back there. I kept literally running into my car. My knees were bruised.
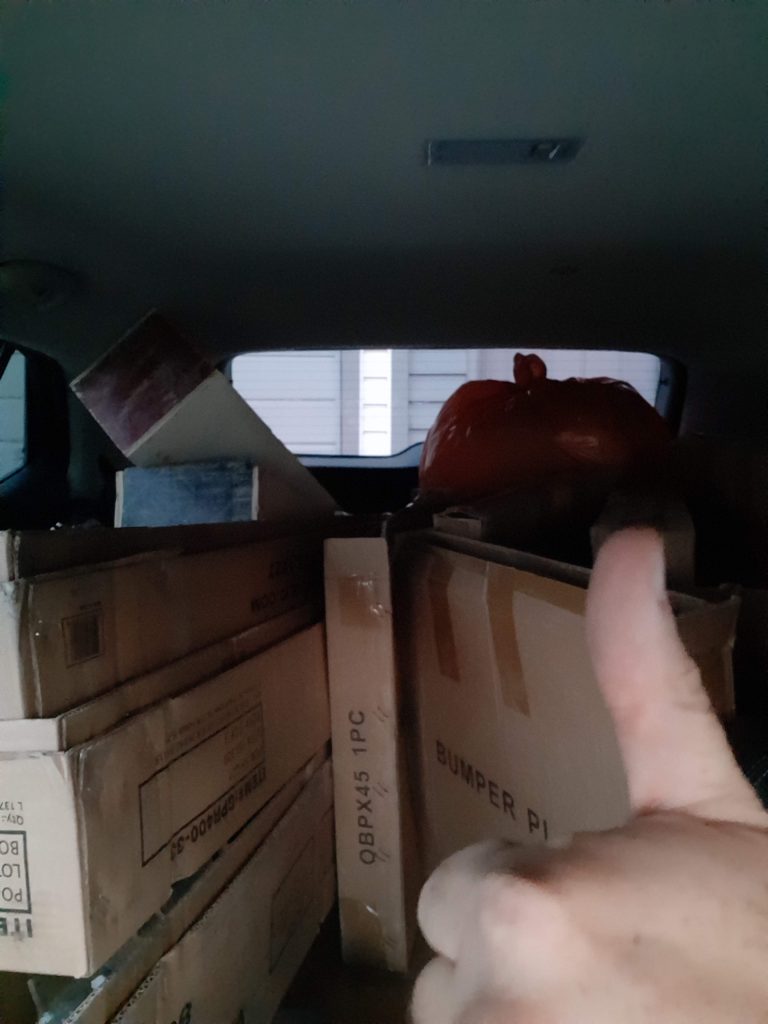
All the cardboard is loaded up in my vehicle and heading to a drop-off recycle station.
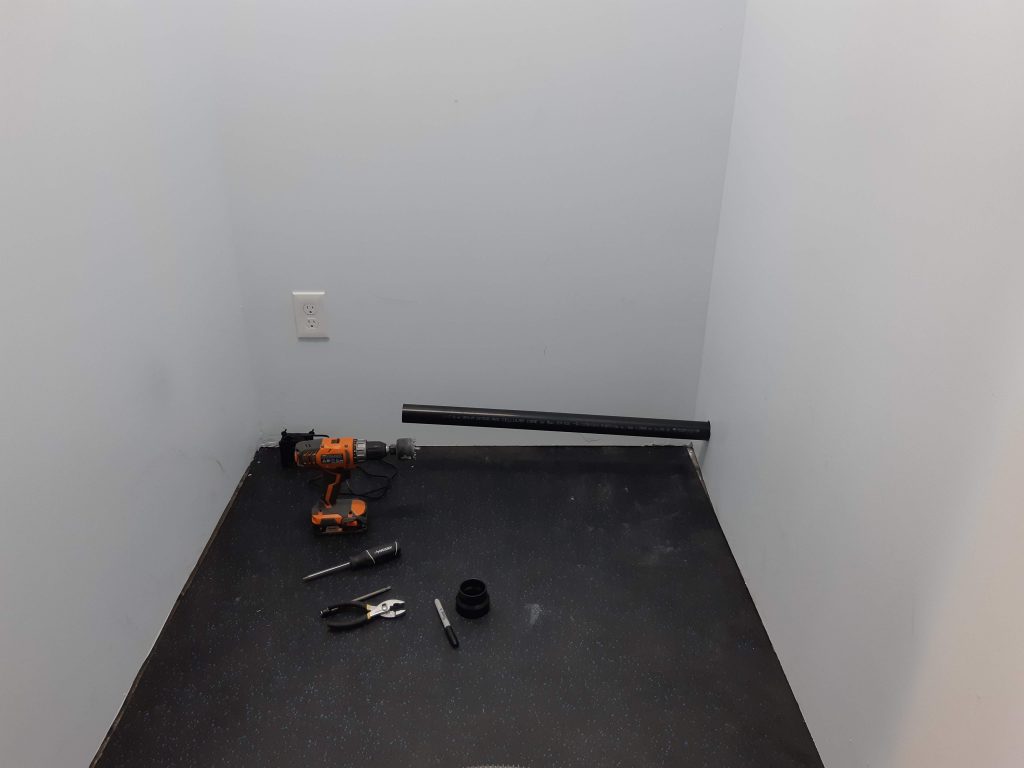
The bathroom venting hole has FINALLY been drilled. This had me so nervous but it went well overall. You can also see the blue paint of the bathroom/change room. This blue will extend across the inside of the door as well.
That is a multi-bladed low-rpm cooling fan. It is very quiet and on a timer. I custom etched it into a 3″ to 2″ diminisher and then attached a pipe through the wall. This is the liquids jug. There will be a receptacle behind it for solids.
Toilet / Bench combo is assembled, painted, and ready for doodie! …uh, I mean duty. 😉 Next is to hang the curtain and place some mirrors on the facing wall.
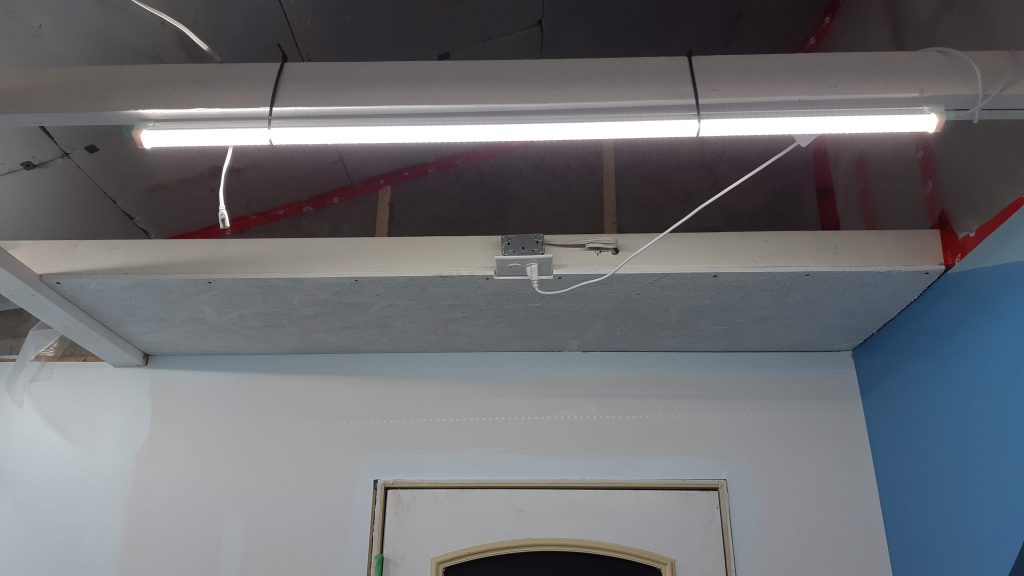
Lighting is FINALLY wired into the proper plugs. YAY! A huge step to use actual light switches. I also built and painted this shelf for over-the-door storage. A little bit of blue painting on some edges got done as well.
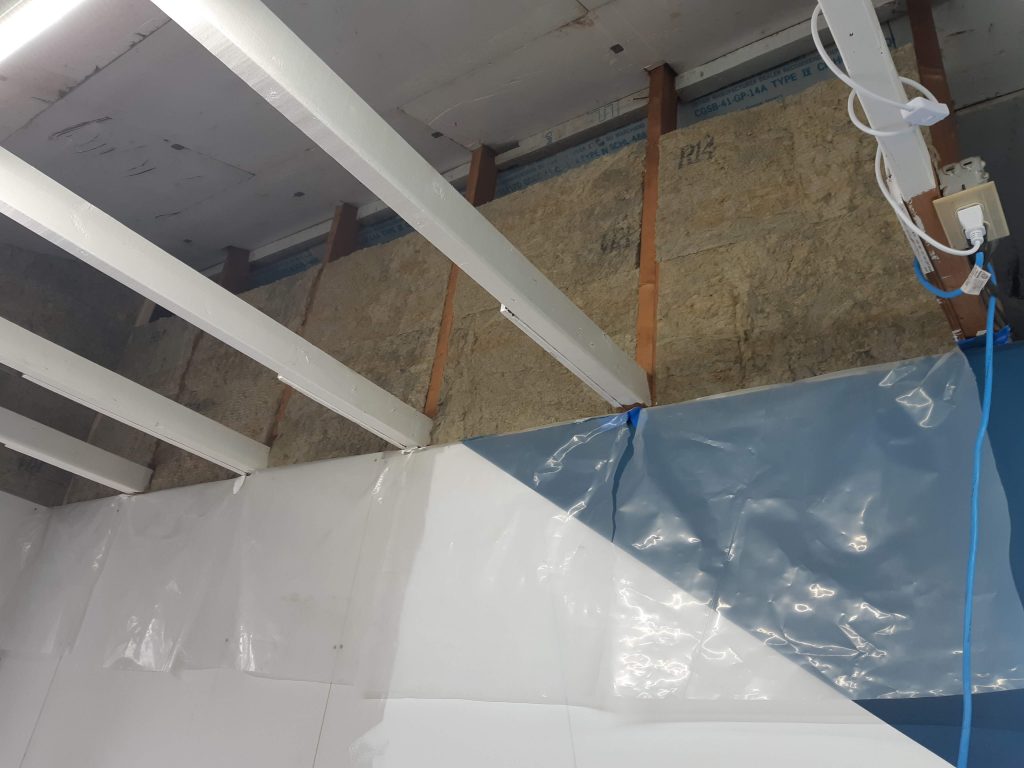
Shared wall attic space is all sealed up! Took me over 6 hours of ladder work. My calves were feeling it!
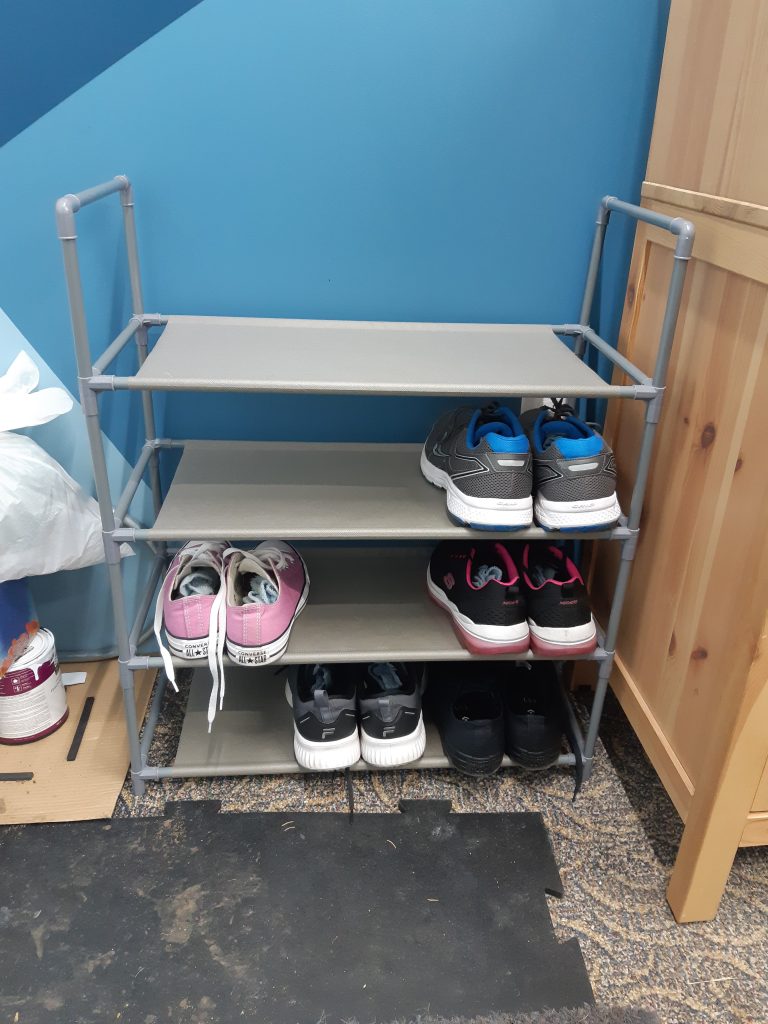
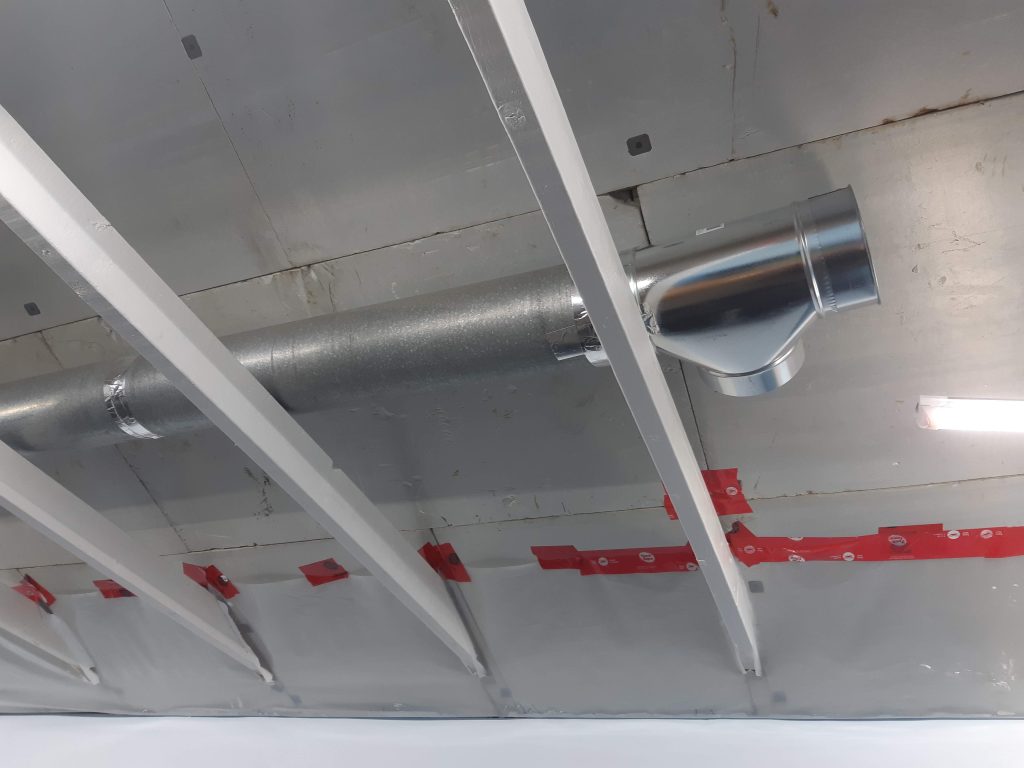
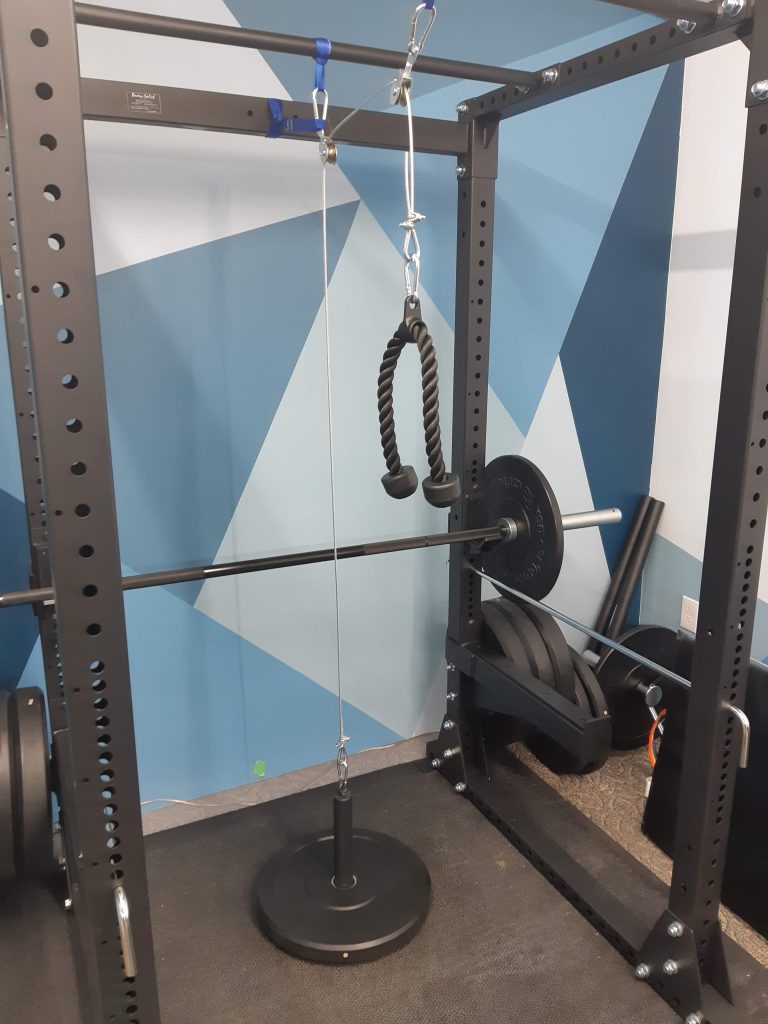
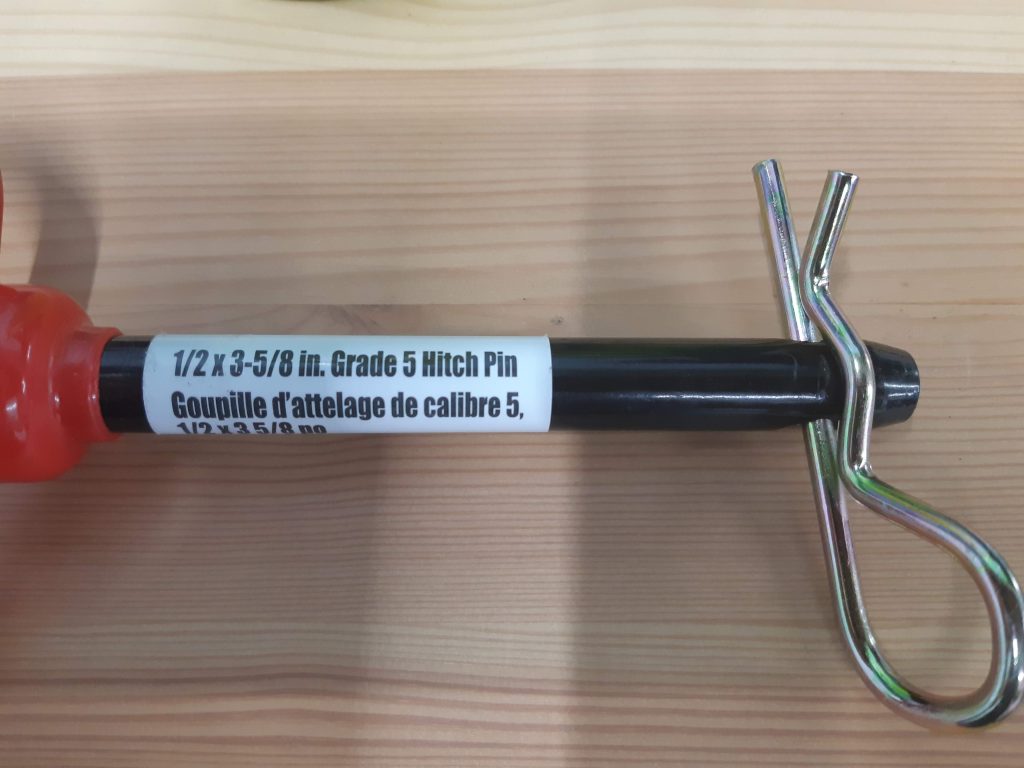
Started bringing DB, KB, and other gear to the gym from my house. Feeling homey!Clients are encouraged to leave their workout shoes at the studio. You can even see inside some of my handmade sneaker deodorizer.Finally managed to finish the ducting. Now the warmth spreads evenly around the entire space. Heck, it only took me…an entire weekend. I learned new stuff!Re-organized the mirror wall. Purely for aesthetics buuuuuuut it makes a massive difference to the visual flow when you walk in the door. I’m pleased. 🙂Cable system DIY that can handle 350lbs per carabiner and 550lbs per pulley. I’m pretty confident in the robustness of this system.This is a hitch pin. If you have a squat/power rack and want to work on bands with clients….buy some hitch pins. I have four. Darn handy.
Build Vlog #01
Build Vlog #02
Build Vlog #03
Build Vlog #04
Build Vlog #05
When Panther Gym gives you a truckload of FREE rubber floor mats…you still have to scrub them. Both sides.